It may surprise you to hear that window tinting may filter up to 99 percent of UV rays. That’s a big deal for keeping your home cool and safe! If you’ve ever wondered how to apply window film without hiring a pro, you’re in the right place. This easy, step-by-step guide will help you do it yourself even if you’re just starting out. And if you’re in window tinting Allentown PA, this can save you time and money. Let’s get started!
Tools and Materials Needed for Window Film Application
Ensure you have all the necessary tools and supplies as you begin.. This will help you work faster and do a better job. Having everything ready means you won’t need to stop in the middle to look for something.
- Here’s what you’ll need:
- Spray bottle fillead with soapy water
- Squeegee or plastic card
- Utility knife (for trimming)
- Ruler or measuring tape
- Clean, soft cloth or paper towels
- Window film of your choice
- A flat surface to work on
Make sure the window is clean and dry before starting. Dust and dirt can cause bubbles.
Step-by-Step Guide to Applying Window Film
Step 1: Clean the Window
First, clean the window approperiatelly. Consider a towel or any soft delicate fabric and soapy water bottlel. Cleaning dust must be in process also. Make sure the glass is super clean and dry. This will help the film stick better and stop bubbles from forming.
Step 2: Measure and Cut the Film
Now, take a measuring tape and measure the window’s area. First, spread out your window film and trim it to a size that is a bit bigger than the window. You’ll trim the extra part later. Having more is safer than having less right now.
Step 3: Wash the glass thoroughly with Freash Water
Keep rinsing the entire glass with clean water. Don’t hold back—apply plenty! This allows the film to move, making it easier to position correctly.
Step 4: Position the Film on the Window
With great care, peel away the film’s backing. Then, press the adhesive side of the film onto the damp glass. It’s perfectly fine to start off imperfectly. You can adjust its position due to the soapy water.
Step 5: Eliminate Bubbles and Cut
Using a flat-edged tool, such as a squeegee or plastic card, gently press across the surface to remove any bubbles and let out any remaining moisture. Start from the center.
Choosing the Right Window Film for Your Needs
Before exploring how to apply window film, it’s important to select the right type for your vehicle. Window films come in various options—some reduce heat and glare, others add privacy or block harmful UV rays.The best option is determined by the way you drive conditions and interests.
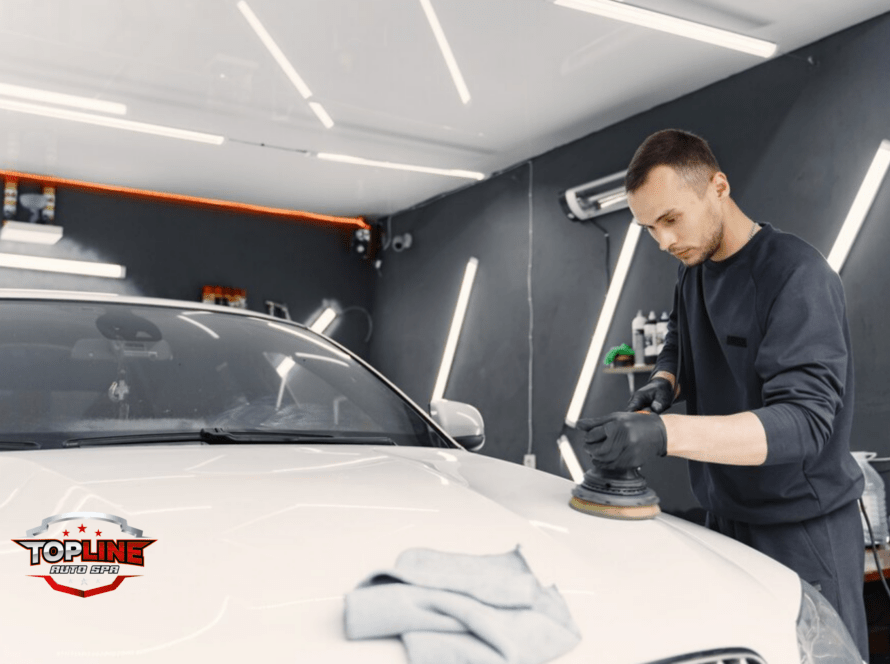
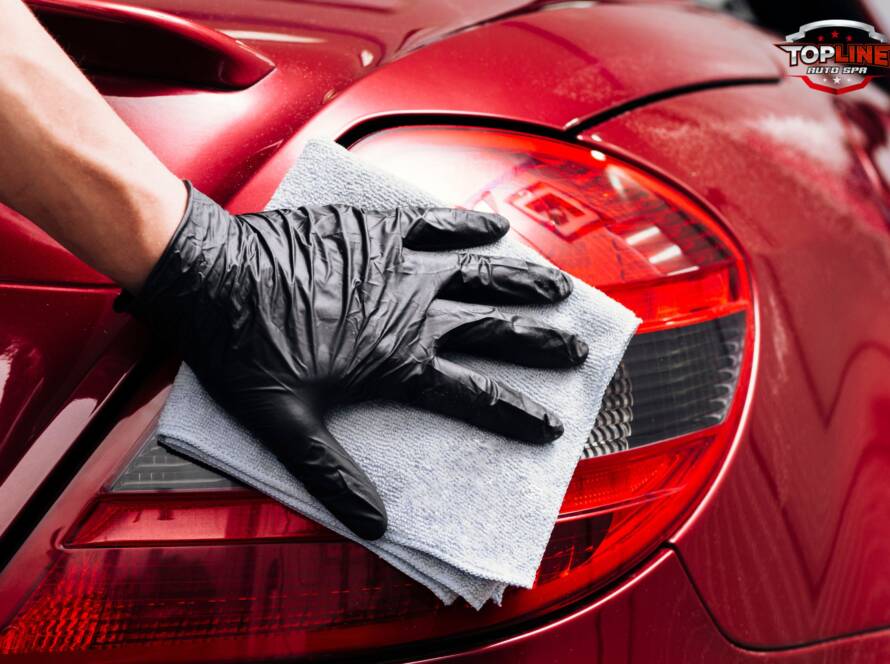
At Auto Spa, customers often ask which film suits their lifestyle and vehicle best. Whether you’re looking for a sleek appearance or functional benefits, there’s a film designed to meet your needs. If you’re applying the film yourself, be sure to follow the proper steps and use quality materials. A careful installation ensures a clean, long-lasting finish without bubbles or peeling. Whether you’re doing a DIY job or trusting the experts at Auto Spa, picking the right film is key to getting professional-looking results.
Conclusion
Now that you know how to apply window film, you can enjoy benefits like added privacy, glare reduction, and a cooler interior. The key is to follow each step with care and use quality tools for a smooth, professional-looking result.
If you’d rather not go the DIY route, simply search for an Auto Spa near me to find local professionals who can do the job with expert precision and ensure a flawless finish.