A deep scratch on your car is frustrating. It catches the light, stands out on a freshly washed vehicle, and leaves you wondering whether the fix is a bottle of polish or a trip to a professional. The wrong move can turn a small flaw into an expensive one.
The honest answer to how to remove deep scratches from a car depends on how deep the scratch actually is. A scratch that sits in the clear coat can often be leveled and polished out. A scratch that has reached the primer or bare metal cannot be polished away, because the material is gone. It has to be filled, touched up, or repainted.
This guide explains how to identify what kind of scratch you have, what you can safely do at home, what to avoid, and when professional help protects both your paint and your money. It is written for everyday drivers dealing with parking lot scrapes, road debris, shopping carts, and the winter road salt that is a fact of life in Pennsylvania.
The Short Answer: Can You Remove a Deep Scratch From a Car?
Yes, in many cases, but only up to a point.
- Scratches in the clear coat only: Usually removable with polishing compound and polish, applied carefully by hand or with a machine polisher.
- Scratches that pass through the clear coat into the color layer: Often improved significantly and sometimes removed, but they may need touch-up paint or professional correction.
- Scratches that reach the primer or bare metal: Cannot be polished out. They need touch-up paint, spot repair, or a repaint, and bare metal should be sealed quickly to prevent rust.
The key to removing a deep scratch without damaging the paint is knowing how much paint you have to work with before you start.
Understanding Your Car’s Paint Layers
Modern factory paint is not one thick coat. It is a layered system, and each layer matters when you decide how aggressive to be.
Clear Coat
The clear coat is the top layer. It provides gloss and UV protection and takes most of the daily abuse from washing, sunlight, bird droppings, and road grit. It is also very thin, commonly in the range of roughly 40 to 50 microns on many vehicles, which is thinner than a sheet of paper. Every time you compound or polish, you remove a tiny amount of it.
Base Coat (Color Layer)
Beneath the clear coat is the color layer. It carries the pigment but has little protective ability on its own. If a scratch has reached this layer, it often looks like a dull or slightly different colored line even after the area is wiped clean.
Primer
The primer bonds the paint to the body panel and helps with corrosion resistance. If you see a white, gray, or off-color line inside the scratch, you are likely looking at primer.
Metal or Plastic Substrate
Bare metal looks silver or shiny inside the scratch. On steel panels, this is where rust can begin, especially when moisture and road salt are involved. On plastic bumpers, you may see a different textured material.
Understanding these layers explains why a scratch that “won’t buff out” is not a failure of technique. Once material is missing, no polish can put it back.
How to Tell How Deep a Scratch Really Is
Before you pick up any product, diagnose the scratch. This step prevents most DIY mistakes.
Step 1: Clean the Area First
Dirt and dried wax can make a light scratch look worse than it is. Wash the area with car shampoo, rinse, and dry with a clean microfiber towel. Then inspect it in good lighting, ideally in shade or under a bright, diffused light.
Step 2: Try the Fingernail Test
Gently drag your fingernail across the scratch, perpendicular to its direction.
- If your nail glides over it without catching, the scratch is likely shallow and confined to the clear coat.
- If your nail catches slightly, the scratch probably reaches the base coat or is close to it.
- If your nail catches firmly in a noticeable groove, the scratch has likely gone through to the primer or metal.
The fingernail test is not perfect, but it is a useful, free first check.
Step 3: Look at the Color Inside the Scratch
- Same color as the paint, just dull or hazy: Clear coat or light base coat damage.
- White, gray, or dull tone: Primer exposed.
- Bright silver or dark rusty spots: Bare metal.
Scratch Depth Comparison
| Scratch Level | What It Looks Like | Fingernail Test | Best Fix |
| Light clear coat scratch | Faint line, mostly visible at certain angles | Nail does not catch | Polish or light compound |
| Moderate clear coat scratch | Clearly visible, still the same color | Nail barely catches | Compound, then polish |
| Deep scratch into base coat | Visible from most angles, may look dull | Nail catches | Professional correction or touch-up |
| Scratch to primer | White or gray line | Nail catches firmly | Touch-up paint or repaint |
| Scratch to bare metal | Silver line, possible rust | Nail catches deeply | Repair, seal, and repaint promptly |
Can Detailing Remove Scratches? Setting Realistic Expectations
Detailing can do a lot, but it has limits. Polishing works by removing an extremely thin layer of clear coat to level the edges of a scratch until it no longer reflects light in a distracting way. It does not fill the scratch. That distinction is why depth matters so much.
If you want a deeper look at what detailing can and cannot do about scratches, this guide on whether car detailing can remove scratches covers which scratches are realistic to correct and which are not.
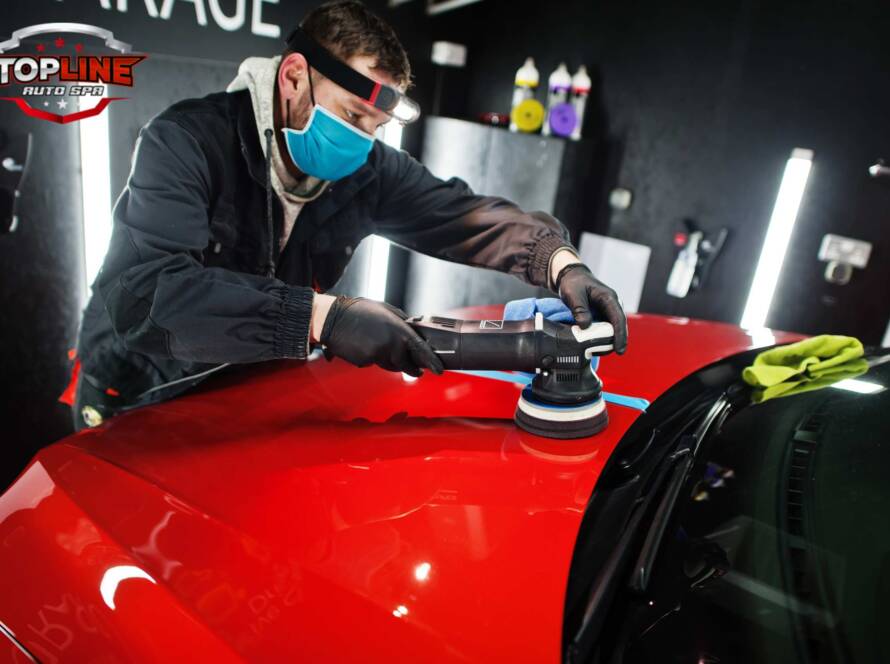
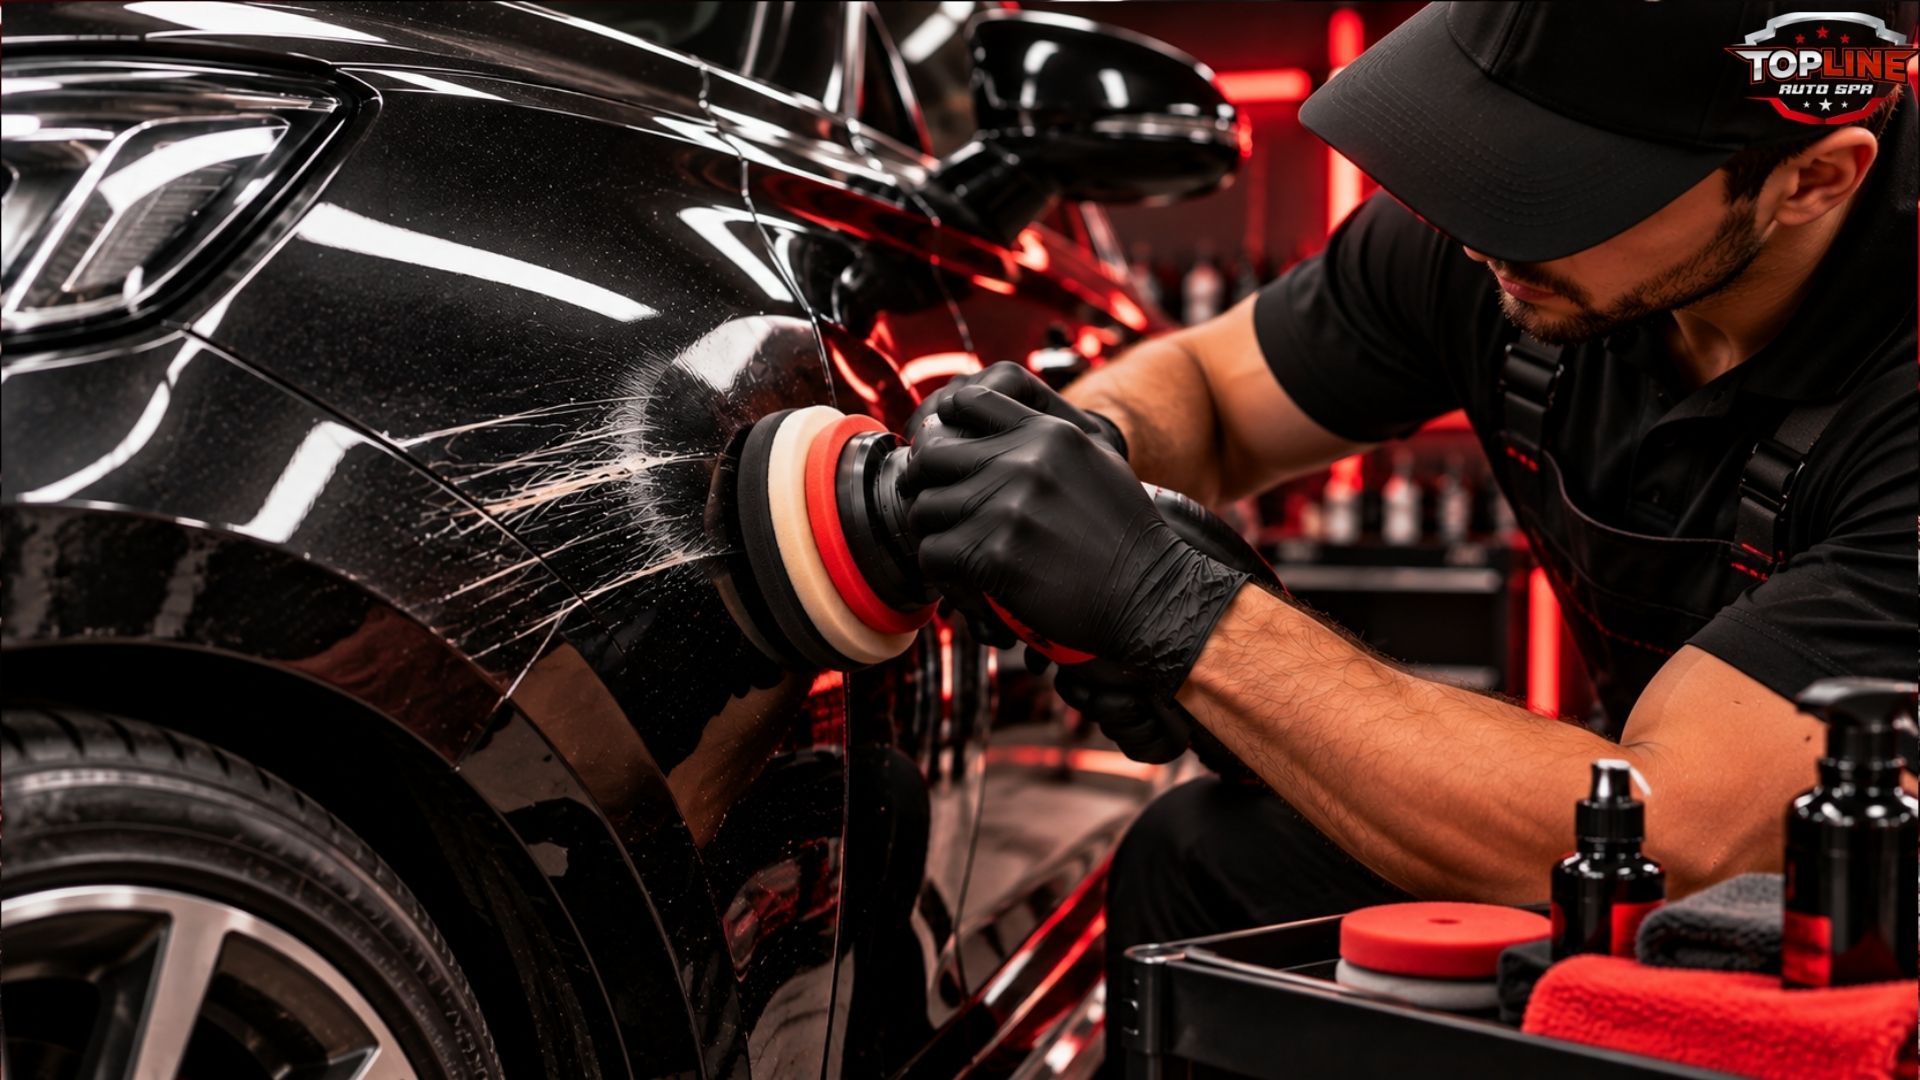
A trained detailer measures, tests, and decides how much clear coat can safely be removed. This is the core idea behind professional paint correction, where controlled machine polishing improves the surface while preserving as much of the original paint as possible. The goal is never to remove the most paint. It is to remove only what is necessary.
What You Need Before You Start
Using the right materials reduces risk. You do not need expensive equipment for light to moderate scratches, but you do need clean, appropriate supplies.
Basic Supplies
- Car wash shampoo and two buckets
- Several clean microfiber towels
- Painter’s tape or masking tape
- Rubbing compound or cutting compound
- Finishing polish
- Foam applicator pads
- Isopropyl alcohol diluted with water for wiping the area clean
- Wax, sealant, or coating for protection after correction
Optional Supplies
- Dual action polisher with cutting and finishing pads
- Automotive touch-up paint that matches your paint code
- Touch-up clear coat
- Ultra fine wet sanding sheets (advanced users only)
- Paint thickness gauge
Find Your Paint Code
Your paint code is usually on a label inside the driver’s door jamb, in the glove box, or under the hood. Using the exact code matters if touch-up paint is needed, since many colors have several similar variants.
How to Remove Deep Scratches From a Car Step by Step
This process is for scratches that are in the clear coat or just into the color layer. If you can see primer or bare metal, skip ahead to the touch-up section.
Step 1: Wash and Dry the Vehicle Thoroughly
Never polish over dirt. Grit trapped under a pad or towel creates more scratches. Wash the panel with a clean mitt, rinse well, and dry with a soft towel.
Step 2: Decontaminate the Surface
Bonded contaminants such as tree sap, rail dust, and road film can make the surface feel rough and interfere with polishing. A clay bar or clay mitt removes these. Skipping this step is a common reason DIY polishing produces uneven results, because the pad ends up dragging debris across the paint.
Step 3: Mask Around the Scratch
Apply painter’s tape a few millimeters on each side of the scratch. This protects nearby trim, edges, and sharp body lines, where paint is thinnest and easiest to burn through.
Step 4: Start With the Least Aggressive Method
This is the most important principle in scratch removal. Begin with a fine polish on a foam pad. Work a small area, roughly 12 by 12 inches, and check your progress. Only step up to compound if the polish does not make a visible improvement.
Step 5: Apply Compound if Needed
Place a small amount of compound on a clean applicator. Work it over the scratch in straight, overlapping passes, in line with the scratch when possible. Use light to moderate pressure. Wipe away the residue and inspect.
Do not add pressure hoping to speed things up. Pressure concentrates heat and can remove far more clear coat than you intended.
Step 6: Follow With a Finishing Polish
Compounds leave a fine haze or micro marring behind. A finishing polish refines the surface and restores gloss. Wipe the area with a diluted isopropyl alcohol solution to remove polishing oils, which can hide leftover scratches, and inspect again in good light.
Step 7: Repeat Carefully, Not Aggressively
If the scratch is improved but still visible, repeat once or twice. If there is little to no change after a couple of careful attempts, stop. That usually means the scratch is deeper than the clear coat, and more polishing will only remove healthy paint.
Step 8: Protect the Finish
Freshly polished paint has no protection. Apply a wax, sealant, or spray protectant to guard the area against UV, contamination, and future micro scratches. For longer lasting protection, many owners choose a ceramic coating after correction, since it creates a durable, slick layer that makes washing easier and helps the finish stay glossy through Lehigh Valley seasons.
Hand Polishing vs. Machine Polishing
| Method | Pros | Cons | Best For |
| Hand polishing | Lower risk, no special tools | Slower, less effective on deeper scratches | Light scratches, small areas |
| Dual action polisher | More consistent, safer than rotary for beginners | Learning curve, needs proper pads and products | Moderate scratches, larger areas |
| Rotary polisher | Faster cutting, very effective | High risk of burning paint, best left to experienced professionals | Heavy correction by trained detailers |
For most owners, a dual action polisher is the safest machine option. A rotary polisher can cause swirls, holograms, or paint burn in inexperienced hands.
What to Do When the Scratch Reaches Primer or Metal
When a scratch is too deep to polish out, the goal shifts from removing it to repairing it properly.
Clean and Prepare the Scratch
Clean the scratch with a wax and grease remover or diluted isopropyl alcohol. Gently remove any loose paint flakes. If there is surface rust on bare metal, it should be carefully removed before painting.
Apply Touch-Up Paint in Thin Layers
Use touch-up paint that matches your paint code. Apply several very thin layers rather than one thick blob, letting each coat dry as directed. Thick layers sag, dry unevenly, and stand proud of the surrounding paint.
Add Clear Coat
Once the color layer has cured, apply touch-up clear coat to seal it and restore gloss.
Level and Blend if Needed
After the touch-up has fully cured, which can take days depending on the product, it can be gently blended. This is advanced work. Wet sanding with very fine grit paper followed by compounding and polishing can level a raised touch-up, but it removes clear coat quickly. If you have never done it before, this is a good point to hand the job to a professional.
Know When a Panel Repaint Makes More Sense
Long, wide, or multi-panel scratches, and scratches that cross body lines, are often better handled by a body shop. A repaint or spot repair produces a more uniform result than layered touch-up paint over a large area.
Common Mistakes That Damage Paint
Many paint problems are caused by attempts to fix a small flaw. Avoid these:
- Using toothpaste, baking soda, or household abrasives. They are unpredictable and can leave hazy scratches that are harder to fix than the original.
- Polishing dirty paint. Loose grit acts like sandpaper under the pad.
- Applying too much pressure. More force means more paint removed, not better results.
- Working in direct sun or on hot panels. Products dry too quickly and become harder to control.
- Skipping the diagnosis. Compounding a scratch that is already through the clear coat will not fix it and can thin the surrounding paint.
- Wet sanding without experience. It is one of the fastest ways to cut through clear coat.
- Ignoring exposed metal. Bare steel can start rusting quickly, especially with moisture and road salt.
- Skipping protection afterward. Corrected paint left unprotected is vulnerable again right away.
DIY vs. Professional Scratch Removal
| Factor | DIY | Professional |
| Cost | Lower upfront | Higher upfront, but lowers the risk of costly mistakes |
| Risk to paint | Higher for beginners | Lower with proper training and measurement |
| Results on light scratches | Often good | Typically excellent and consistent |
| Results on deep scratches | Limited | Better assessment, possible full correction or repair guidance |
| Tools | Basic, sometimes limited | Machine polishers, multiple pads and compounds, inspection lighting |
| Time | Several hours or more | Handled by experienced technicians |
DIY makes sense for light scratches and small, clearly shallow marks. Professional help is worth considering when the scratch is deep, the paint is already thin, the vehicle is new or high value, the finish is a specialty color, or you are simply unsure how deep the damage goes.
What Professional Scratch Correction Involves
Professional correction is more than running a polisher over a scratch. A careful process usually looks like this:
- Inspection under proper lighting to identify scratch depth and paint condition.
- Paint thickness measurement, where appropriate, to understand how much clear coat is available.
- Thorough wash and decontamination so the paint is clean before any correction begins.
- Test spot using the least aggressive combination of pad and product.
- Step by step correction, refining the finish after each stage.
- Final inspection to confirm results and identify any scratches that should not be pushed further.
- Protection, so the corrected finish stays cleaner and more resistant to future marring.
A good detailer will also tell you honestly when a scratch is too deep to remove fully. In that case, the goal becomes reducing its visibility as much as safely possible, or recommending a repair option instead.
How to Prevent Deep Scratches in the First Place
Preventing scratches is easier and cheaper than fixing them. These habits make a real difference:
- Use the two bucket wash method and clean microfiber towels.
- Avoid automatic washes with abrasive brushes.
- Park away from shopping carts, narrow spaces, and busy door zones.
- Keep a safe following distance on gravel or freshly treated winter roads.
- Rinse off road salt in winter and do not let it sit on the paint.
- Avoid dry wiping dust off the paint.
- Keep the paint protected with wax, sealant, or coating.
- Keep key rings, belt buckles, and jacket zippers away from the paint when leaning on the car.
Protection layers do not make paint scratch proof, but they make it easier to clean and can help reduce fine marring from routine washing.
Conclusion
Removing a deep scratch from a car comes down to accurate diagnosis. Light and moderate clear coat scratches can often be improved or removed with careful washing, decontamination, compounding, polishing, and protection. Scratches that have reached the primer or metal need repair rather than polish, and forcing them can do more harm than good.
If you are unsure how deep the scratch is, or if the vehicle matters to you, having an experienced detailer assess it is usually the safest path. Once the paint is corrected or repaired, the next step is keeping it that way. Paint protection film can shield high impact areas like hoods, bumpers, mirrors, and door edges from future chips and scratches.
Got a deep scratch? Book a professional inspection before it gets worse.
Frequently Asked Questions
Can deep scratches be removed from a car?
Sometimes. If the scratch is limited to the clear coat, it can often be polished out or greatly reduced. If it has reached the primer or metal, polishing cannot remove it, and it will need touch-up paint, spot repair, or a repaint.
How do I know if a car scratch is too deep to buff out?
Try the fingernail test. If your nail catches firmly in the scratch, or you can see white, gray, or silver material inside it, it is probably too deep to buff out. Little to no improvement after a couple of gentle polishing attempts is another sign.
Does toothpaste remove deep scratches from a car?
No. Toothpaste is not designed for automotive paint. It may slightly dull a very light mark, but it can also leave a hazy finish. Proper automotive polish and compound are safer.
Can WD-40 remove deep car scratches?
No. WD-40 may temporarily make a scratch look less noticeable by leaving a thin film, but it does not repair or remove it, and the effect fades quickly.
Can I use rubbing compound on a deep scratch?
You can use rubbing compound on scratches in the clear coat or lightly into the color layer, with light pressure and frequent checks. Do not use it repeatedly on a scratch that is not improving, because it removes clear coat each time.
Is it safe to wet sand a deep car scratch?
Wet sanding can level some deeper scratches, but it removes clear coat quickly and can cut through it if done wrong. It is best left to experienced detailers or body shop technicians, especially if you do not know your paint thickness.
Will touch-up paint make a deep scratch invisible?
Not always. Touch-up paint protects exposed metal and reduces the scratch’s visibility, but the repair can still be noticeable up close, especially on longer scratches. Careful preparation and thin layers give the best results.
Should I get a deep scratch fixed right away?
If the scratch reaches bare metal, yes. Exposed steel can begin to rust, and salt and moisture speed that up. Even a temporary seal is better than leaving it open. For shallow scratches, there is less urgency.
Can paint correction remove deep scratches?
Paint correction can remove or significantly reduce many clear coat scratches, but it cannot restore missing paint. A professional will assess depth and paint thickness first to decide what is safely achievable.