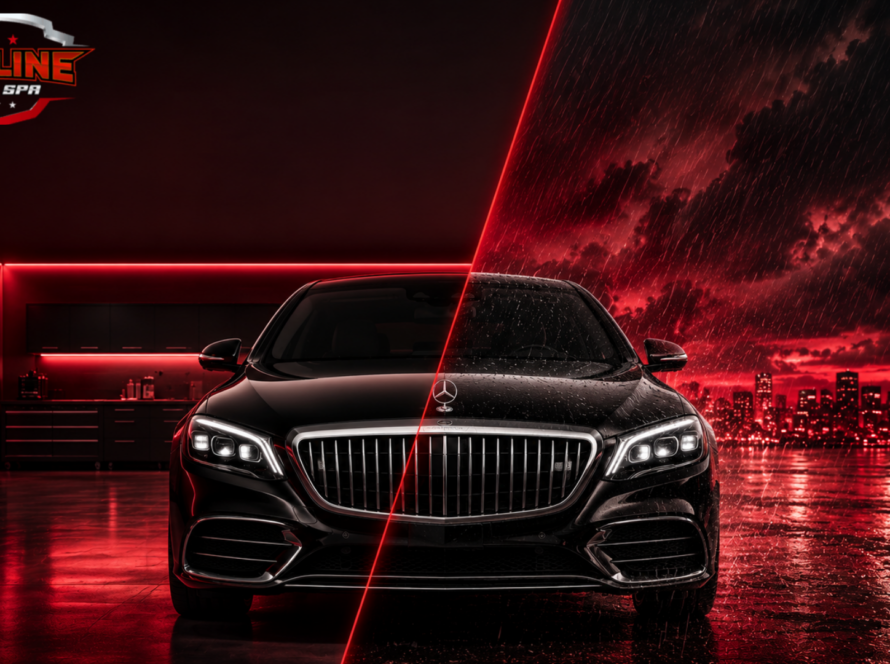
Did you know that more than 60% of car owners in the U.S. say scratches and dull paint lower their car’s value? A shiny finish not only makes your car look new but also protects the paint for the long run. Many drivers are now learning how to polish a car with a buffer because it’s faster and gives better results than polishing by hand. You can restore that showroom shine in your driveway by following the proper procedures.
At our detailing center, we’ve helped countless customers bring life back to their cars with professional polishing. We know that the process can seem tricky at first, but it doesn’t have to be. This guide will walk you through easy steps so you can safely polish your car without stress. And if you’d rather leave it to the pros, our auto spa car wash service is always here to give your vehicle that perfect glossy finish.
What is Car Buffing and Why Does It Matters?
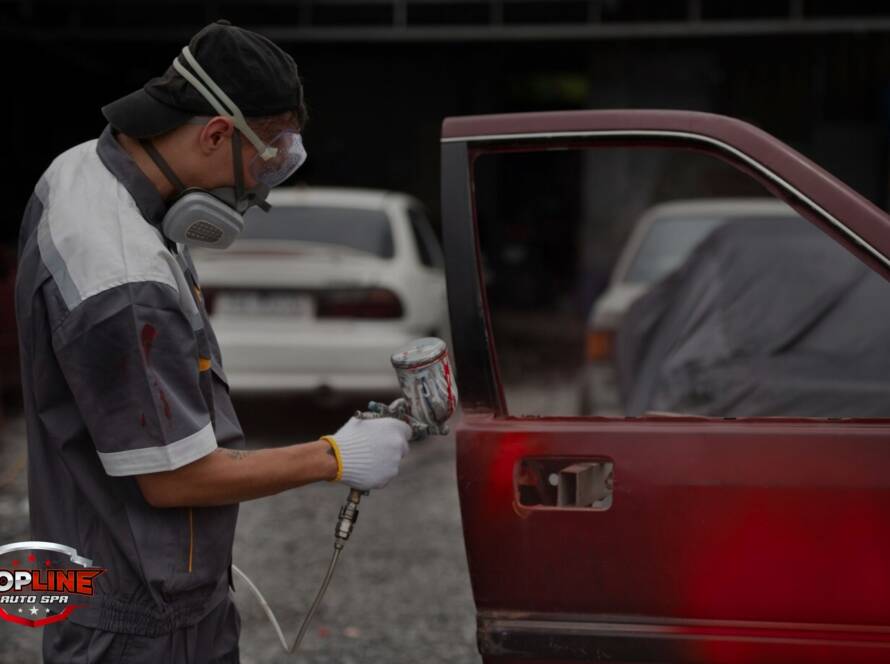
Buffing is the process of gently smoothing your car’s paint to remove light scratches and oxidation. It restores depth, improves shine, and helps the surface stay protected from everyday wear. This makes your car look newer and keeps the paint lasting longer.
In our detailing shop, we often see cars that appear faded transform after a single session. When you polish a car with a buffer the results are more even and professional compared to doing it by hand, giving your vehicle a fresh finish.
How to Polish a Car with a Buffer? Step By Step Guide
Step 1: Choose the Right Pad and Polish
Depending on the paint condition of your car, choose a pad and polish. Softer pads work for light swirls, while cutting pads handle deeper scratches. This choice is key when learning how to polish a car with a buffer.
Step 2: Apply Polish Correctly
Place a few small drops of polish on the pad, not too much. Dab it around the section before turning the buffer on. This helps spread the product evenly and avoids mess.
Step 3: Start Buffing Safely
Work in small sections, about 2×2 feet, using light pressure. Keep the buffer moving slowly and steadily. This prevents swirl marks and protects your paint from damage.
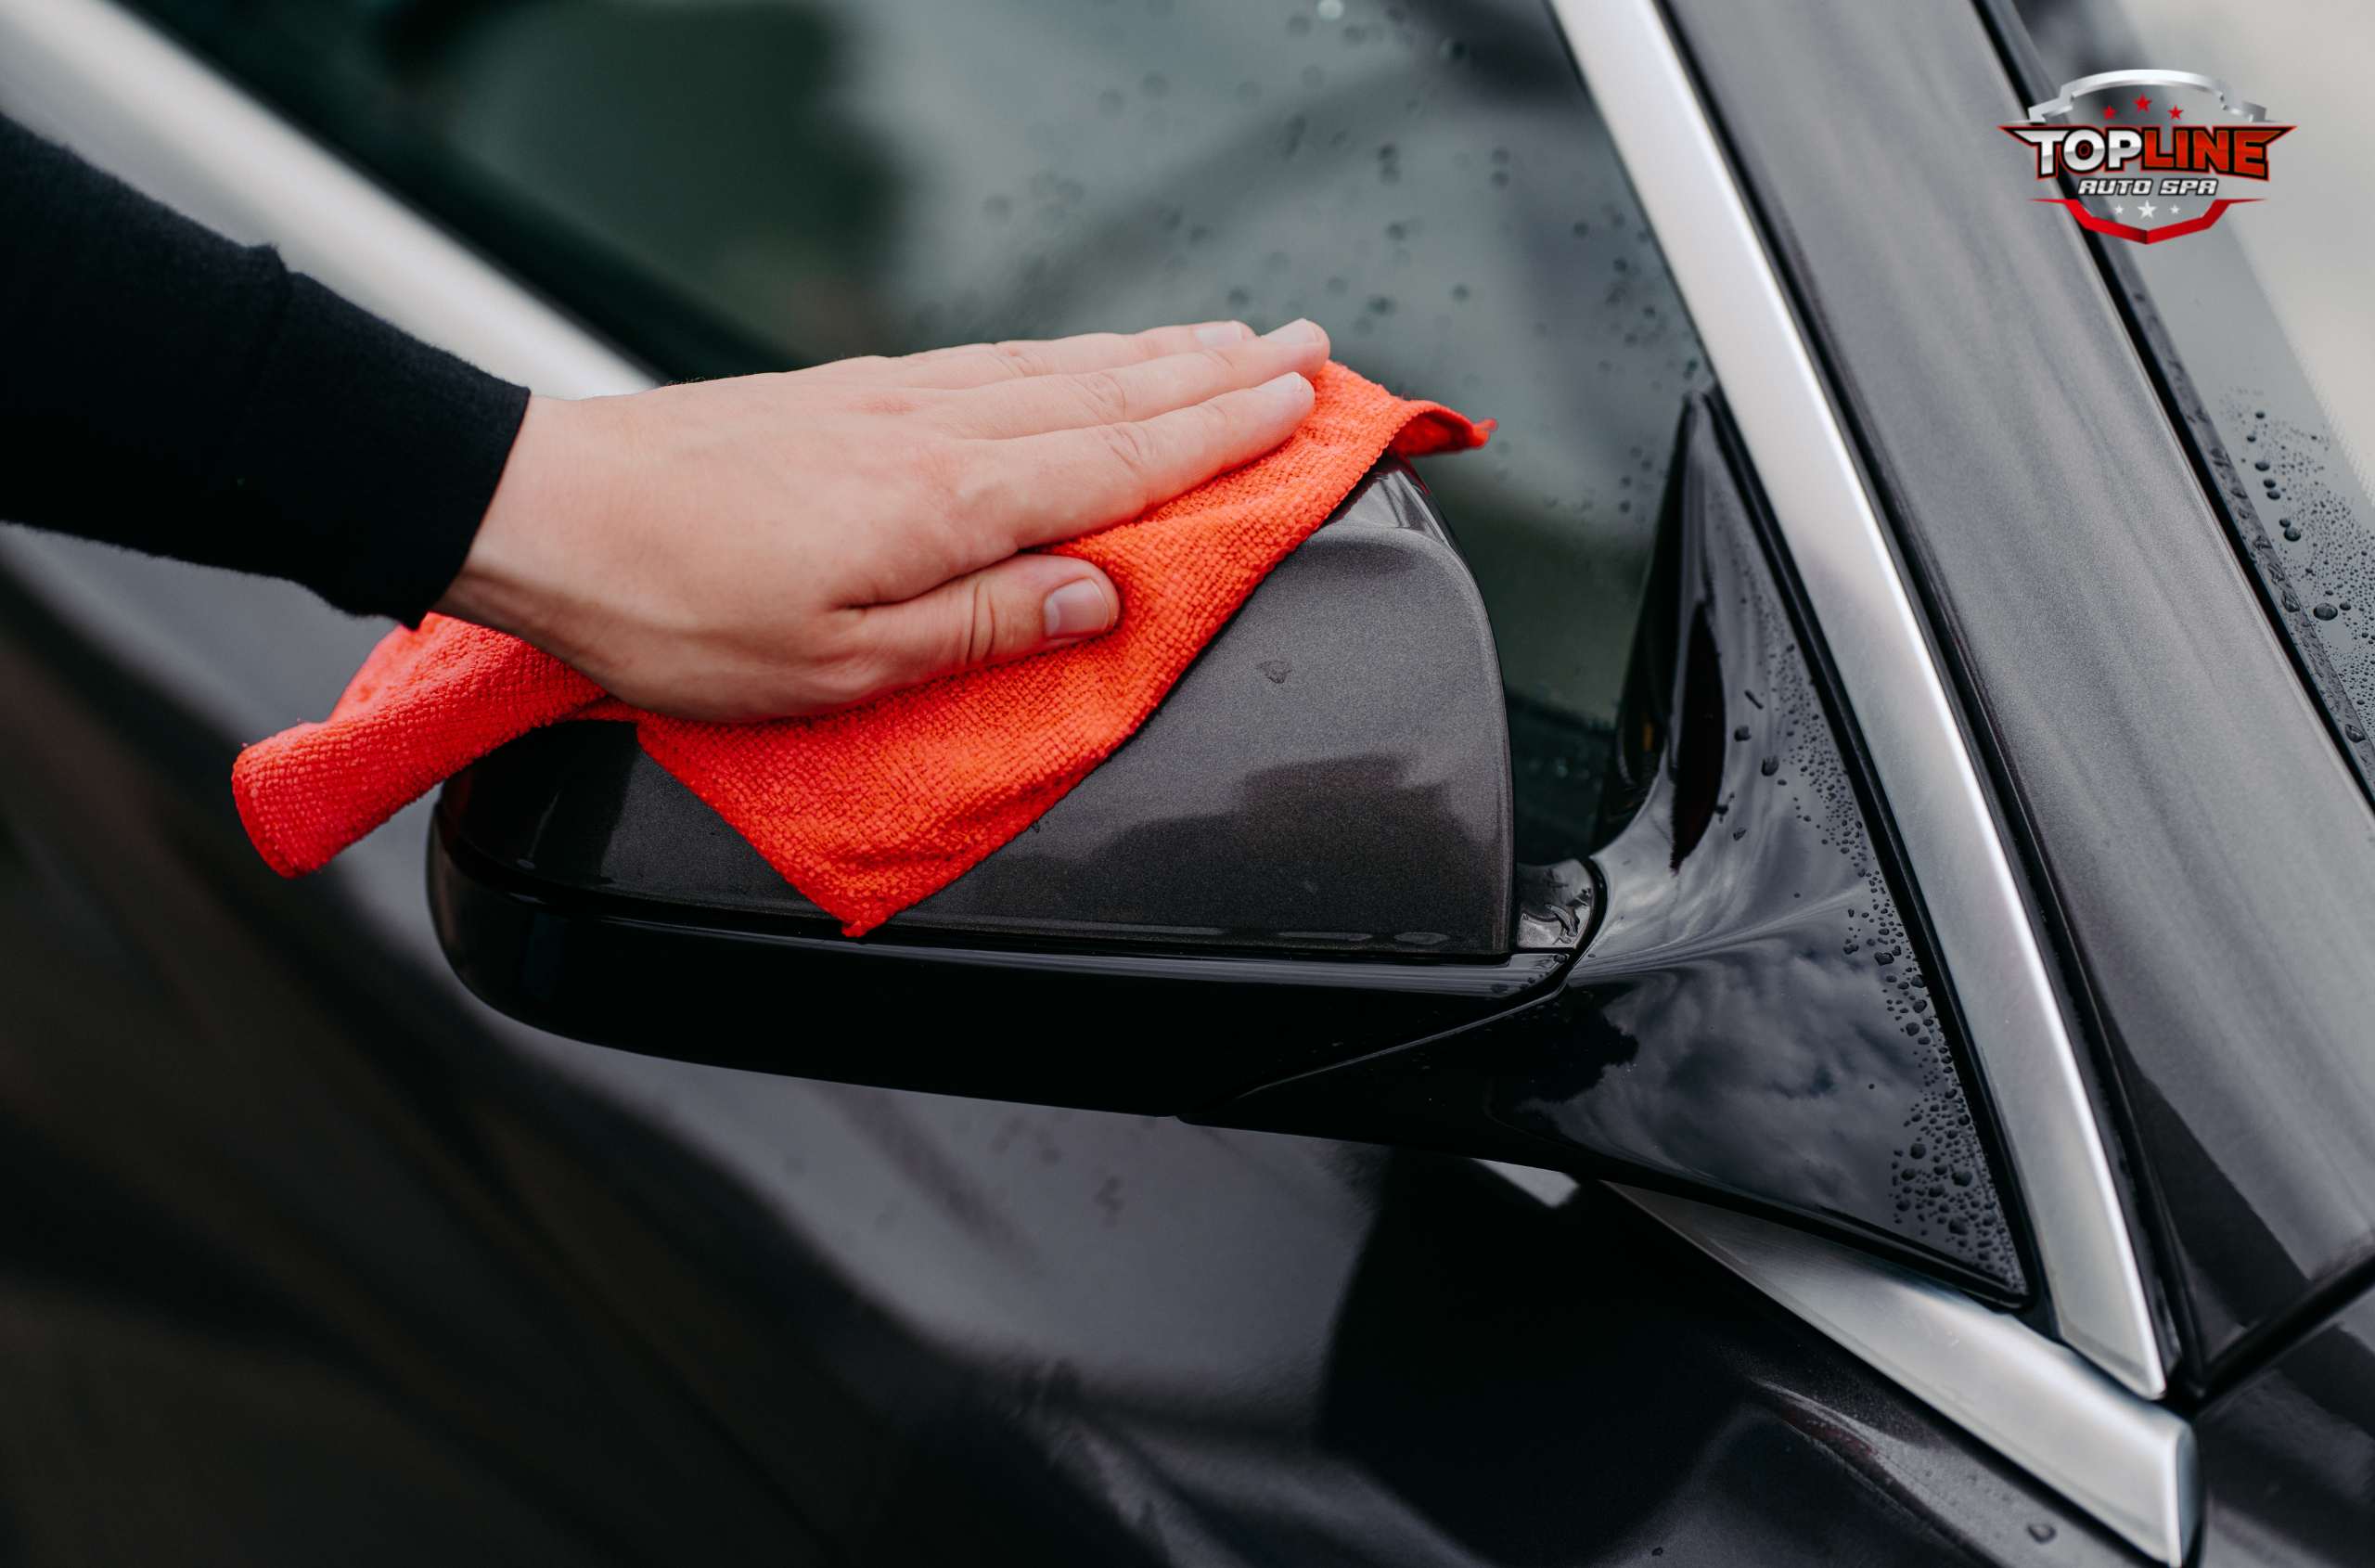
Step 4: Wipe and Inspect Results
Use a clean microfiber towel to remove leftover polish. Look closely at the area to check for missed spots. Repeat the process if the surface needs more correction.
Step 5: Repeat if Needed
Some scratches may not disappear on the first try. Go over the section again with light pressure until the finish looks smooth. This step is important when mastering how to polish a car with a buffer.
Common Mistakes to Avoid When Buffing
Here’s your Common Mistakes to Avoid When Buffing section refined with the keyword how to use rubbing compound added naturally for an internal linking opportunity:
- Using the wrong pad or polish can damage paint.
- Applying too much pressure may cause swirl marks.
- Skipping prep leaves dirt that scratches the surface.
- Buffing in direct sunlight dries polish too fast.
- Paint can burn if the buffer is moved too slowly.
Learn how to use rubbing compound correctly to fix deeper scratches before buffing.
Conclusion
Learning how to polish a car with a buffer is a smart way to restore shine, remove swirl marks, and protect your vehicle’s paint. With the right steps, you can improve the look and extend the life of your car’s finish. While DIY polishing can help, professional best protection for car paint go beyond surface shine by delivering a smooth, flawless finish that lasts longer. At Toplin AutoSpa, we use advanced tools and proven methods to safely correct imperfections and bring back that showroom glow.
Get Expert Tips on Advanced Car Detailing Innovations Today!
Your car is more than just transportation. It deserves expert care that protects its value and makes it stand out on the road. Ready to see what professional polishing can do for your vehicle? Book your service with Toplin AutoSpa today and let our detailing specialists give your car the finish it truly deserves.