Did you know that most cars on the road today have some form of paint damage? From tiny scratches to dull spots, these marks can make a vehicle look old and tired. When you decide to fix them yourself, it’s easy to get confused by products that sound so alike, like rubbing compound and polishing compound.
This guide is here to help. We’ll show you how to safely use each product to get your car looking new and shiny again. For professional help with your vehicle’s appearance, our team at car detailing bethlehem PA is ready to assist.
Understand Paint Correction
A recent study in the car care industry shows that many car owners worry about small scratches and swirl marks. This kind of damage happens to almost every vehicle. The good news is, you can fix these issues with a process called paint correction. This is just a fancy name for restoring your car’s top clear coat layer to make it look smooth and shiny again. The fact that it is a two-step process is the most crucial thing to understand.
First, you correct the problem, often with a more powerful rubbing compound. Then, you refine the surface using a gentler polishing compound. This two-step method is the secret to a professional-looking shine and a perfect finish.
The Dynamic Duo: Rubbing Compound & Polishing Compound Explained
What is Rubbing Compound?
You might be surprised to learn that a detailer’s secret to fixing paint is actually controlled sanding. That’s where rubbing compound comes in. Think of it as a heavy-duty cleaner for your car’s paint. A recent survey found that more than half of all vehicles on the road have paint that could be improved with this kind of treatment.
A rubbing compound is a thick paste or liquid with tiny, coarse particles in it. Its main job is to remove the worst damage, like deep scratches, scuffs from other cars, and stubborn oxidation or stains. When you apply it, you are gently sanding down the top layer of your car’s clear coat to make the surface level again. This makes the scratch disappear. Because it’s so powerful, it leaves the paint looking a bit dull or hazy, which is completely normal.
What is Polishing Compound?
Once you’ve used the rubbing compound to fix the big issues, it’s time for the second step: polishing compound. This product is the opposite of a rubbing compound. It has much finer particles, almost like a silky liquid. Its job is to remove the dull haze left behind by the rubbing compound and polish compound the paint to a mirror-like shine. When you’re choosing between a rubbing compound vs polishing compound, remember that the first is for correcting problems, and the second is for finishing the job and making the paint look its best.
You can also use a polishing compound on its own to remove light swirls and small marks that a rubbing compound would be too aggressive for. Using both products together is how professionals get that deep, glossy look.
Step-by-Step Guide for a Flawless Finish
Did you know that over 70% of DIY car detailers say they are confused about how to properly use things like a rubbing compound and polishing compound? Knowing the right steps is key to getting a perfect finish. This guide will walk you through a simple, step-by-step process.
The most important thing to remember is to work carefully and in a methodical way. This will ensure you don’t do any damage to your car’s paint and get a professional-looking result.
Step 1: Get the Surface Ready
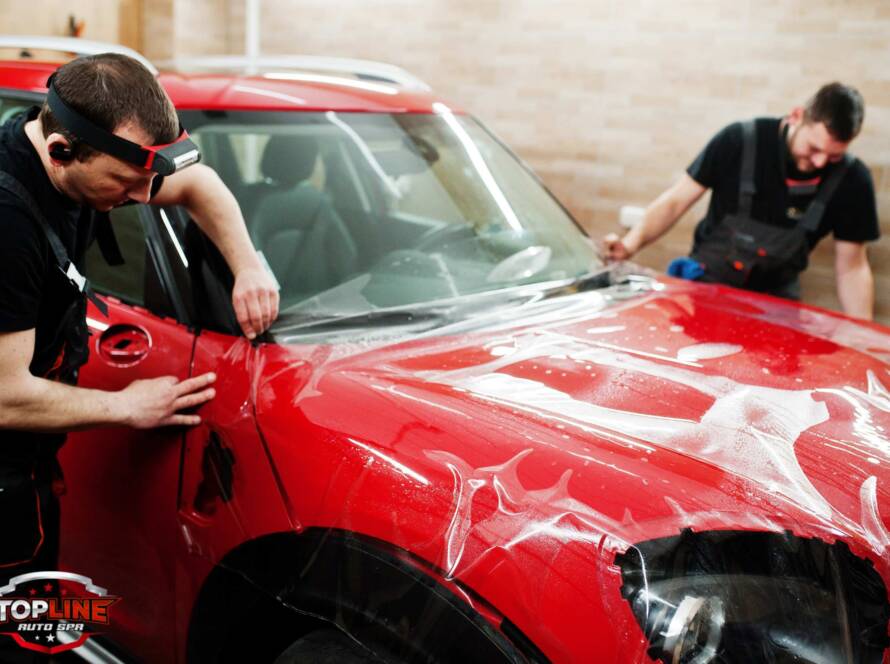
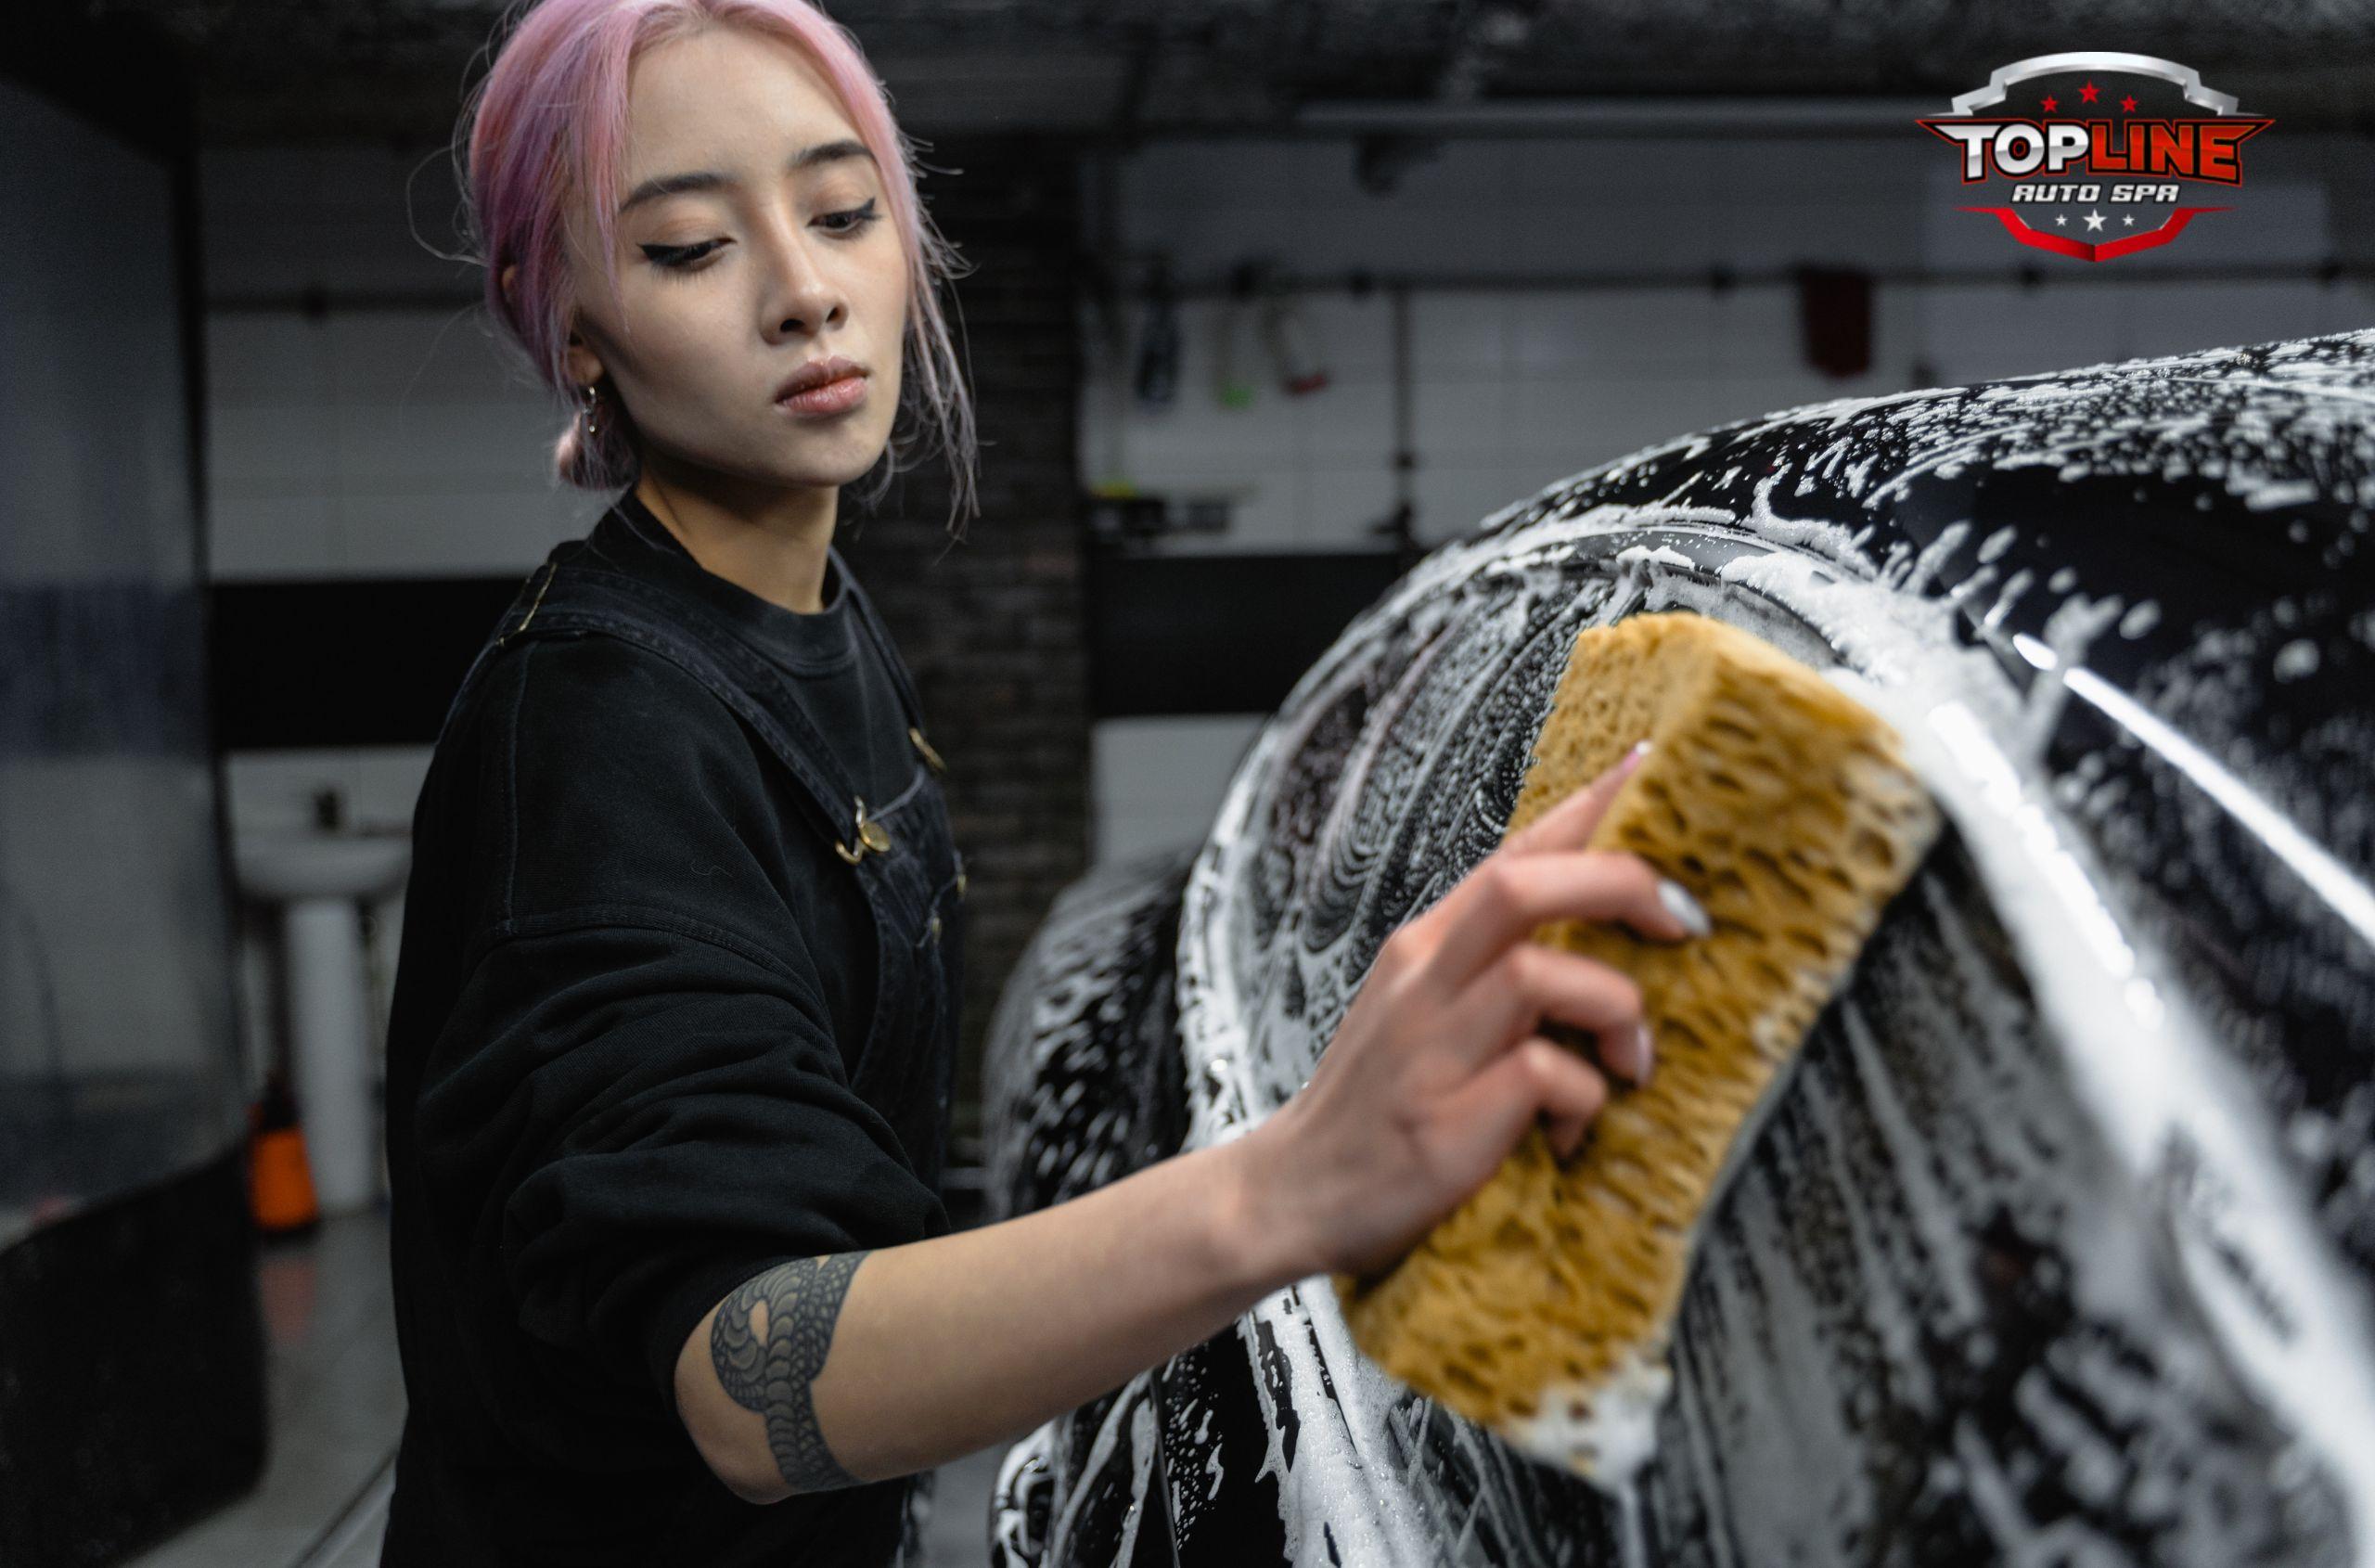
Before you do anything else, make sure your car is super clean. Start by washing it completely, then dry it with a clean towel. Next, use a clay bar to get rid of any tiny dirt bits that are stuck to the paint. These could cause new scratches, so this step is a must.
Step 2: Check the Damage
Before you start, check the scratches you want to fix. If a scratch is so deep that your fingernail gets stuck in it, a compound may not be able to fix it, and it might need professional help. However, for most minor issues, rubbing compound for scratches is a great solution.
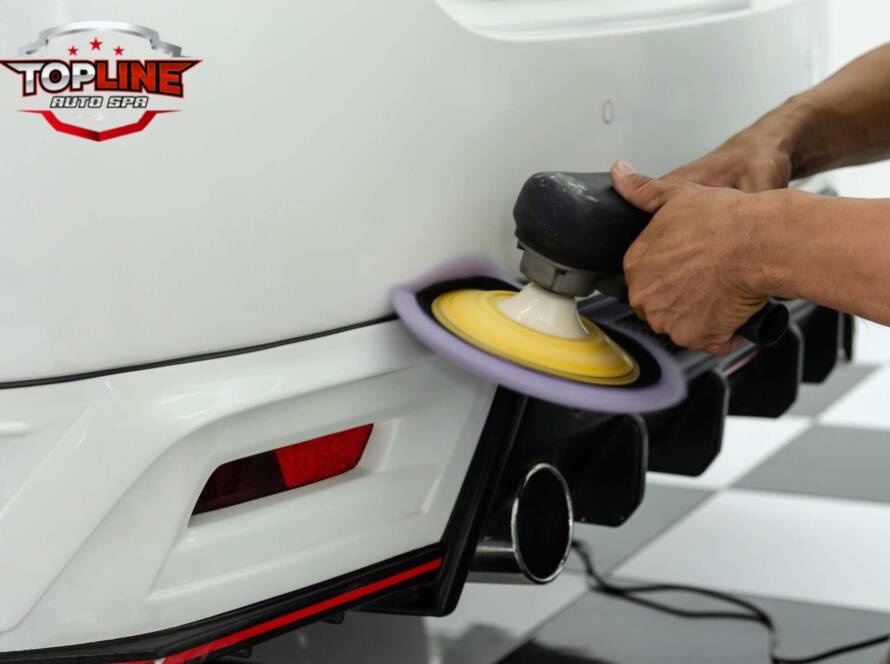
Step 3: Learn How to Use Rubbing Compound
Now for the most important part: how to use rubbing compound. Put a small amount of the compound on a dedicated foam or microfiber pad. Work in a small area, like a 2-foot by 2-foot square. Use a back-and-forth motion with light pressure, or a circular motion if you are doing it by hand. As you work the compound in, you will see the scratch disappear. It will leave a dull haze, which is normal.
Step 4: Follow Up with Polishing Compound
Once the scratch is gone, it’s time to follow up with the polishing compound. This is the product that will restore the shine. Use a fresh, clean pad and work in the same small area. The polishing compound will remove the dullness and bring back the glossy, mirror-like finish you want.
Step 5: Protect Your Hard Work
After you’re done, the paint will look fantastic, but it will be unprotected. The final step is to apply a layer of wax or a paint sealant. This will keep your car’s new look safe from the elements and from getting new scratches.
Get Expert Tips on Advanced Car Detailing Innovations Today!
Conclusion
At the end of the day, remember that rubbing compound and polishing compound are two different tools for two different jobs. Think of them as a one-two punch for your car’s paint. Rubbing compound does the heavy lifting to fix the big problems, while polishing compound smooths things out and gives you that perfect, high-gloss shine. This two-step process is the key to getting a truly professional-looking result.
If you don’t have the right tools or just want to save yourself the effort, our team is here to help. For a professional, complete service, search for a full service auto detailing near me.