Your vehicle’s paint is constantly under assault from UV rays, road salt, industrial pollution, hard water deposits, and environmental contaminants. Waxing your car provides a protective barrier that shields your paint while enhancing its appearance and creating that coveted mirror-like finish. Yet many vehicle owners either skip waxing entirely or perform it incorrectly, missing out on both the protection and aesthetic benefits that proper waxing provides.
Car wax has been protecting vehicle paint for decades. This affordable, accessible protection method remains popular because it works. A properly waxed vehicle maintains better paint condition, resists environmental damage more effectively, and displays superior gloss and depth compared to unprotected paint. For Lehigh Valley vehicle owners facing road salt exposure, hard water spotting, intense UV radiation, and temperature extremes, regular waxing becomes even more important as preventive maintenance against our region’s harsh conditions.
Understanding how to wax your car correctly ensures you get maximum benefit from this fundamental paint protection method. Whether you’re maintaining your vehicle’s appearance, preparing for a season of challenging weather, or simply seeking that showroom shine, mastering proper waxing technique transforms your vehicle’s appearance while establishing a foundation for long-term paint preservation.
This comprehensive guide walks you through every aspect of car waxing, from understanding why waxing matters to selecting the right products to executing flawless application technique. Whether you’re a DIY enthusiast tackling waxing for the first time or seeking to improve your existing technique, this guide provides the knowledge and step-by-step instructions needed for professional results.
Key Takeaways
Waxing your car protects paint from UV damage, oxidation, road salt, and environmental contaminants while creating an attractive glossy finish. Proper waxing technique begins with thorough vehicle washing and ideally includes paint decontamination through clay bar treatment. Quality wax product selection matters significantly, with paste wax offering superior durability and liquid wax providing easier application. Paint surface preparation is critical because wax cannot adhere properly to dirty or contaminated surfaces. Hand application using soft applicator pads ensures even coverage and prevents waste. Patience during the curing and buffing phases determines final appearance quality. Wax requires reapplication every 3 to 4 months to maintain consistent protection. Professional alternatives like ceramic coating provide longer-lasting protection but require different application methods. Regular waxing combined with proper washing and drying technique maintains your vehicle’s appearance and protects your paint investment. Waxing is most effective as part of a comprehensive paint care strategy that includes regular maintenance and professional services when needed.
Why Waxing Matters: Understanding Paint Protection Fundamentals
Before learning how to wax your car, understanding why waxing matters helps you appreciate this foundational paint protection method and commit to doing it correctly.
Your vehicle’s paint system consists of multiple layers. The clear coat sitting on top protects the colored base coat beneath and provides gloss and depth to your vehicle’s finish. However, clear coat is not impervious. UV rays gradually degrade clear coat, causing oxidation and fading. Environmental contaminants including road salt, industrial fallout, tree sap, and bird droppings bond to clear coat and cause etching and discoloration. Water deposits leave mineral residue. These accumulated assaults gradually diminish your paint’s appearance and compromise its protective integrity.
Wax creates a barrier between your paint’s clear coat and the environment. This protective layer repels water, preventing moisture from sitting on paint surfaces. The hydrophobic effect reduces how aggressively environmental contaminants bond to paint. UV protection in many wax formulations reduces sun damage to clear coat. These protective benefits extend clear coat lifespan and maintain your paint’s appearance.
Beyond protection, wax creates visual benefits that enhance your vehicle’s appearance. Quality wax deepens color, enhances gloss, and creates reflectivity that makes paint appear rich and lustrous. The satisfaction of seeing your vehicle gleam after waxing motivates many enthusiasts to maintain regular waxing schedules.
For Lehigh Valley residents, understanding paint protection takes on heightened importance. Road salt from winter maintenance aggressively corrodes unprotected paint. Our region’s hard water creates mineral spotting. Summer UV exposure is intense. Winter temperature extremes stress paint. Regular waxing provides baseline protection against these regional challenges, making the difference between paint that deteriorates quickly and paint that remains beautiful for years.
Understanding Different Wax Types: Paste vs. Liquid vs. Spray
Wax products come in different formulations, each with distinct application characteristics and protection durability. Understanding these differences helps you select the product best suited to your needs and preferences.
Paste wax represents traditional car wax formulation. This product contains natural or synthetic wax suspended in carrier oils and solvents. Paste wax typically requires hand application, spreading the product across paint surface, allowing it to haze slightly as solvents evaporate, then buffing away the haze with microfiber cloths. Paste wax requires more work during application but provides superior durability, typically lasting 3 to 4 months before requiring reapplication.
The appearance of paste-waxed paint is exceptional. Quality paste wax deepens color, creates rich gloss, and produces the reflectivity that serious enthusiasts seek. High carnauba content in premium paste waxes enhances these visual benefits. The hand application process, while more labor-intensive, allows control and precision that mechanical application cannot match.
Liquid wax offers easier application than paste wax. This formulation applies more readily to paint surfaces and spreads more smoothly. Liquid wax still requires hand application and buffing but involves less physical effort than paste wax. Liquid wax durability is comparable to paste wax, typically lasting 2 to 3 months before reapplication becomes necessary.
Spray wax provides the easiest application method. Simply spray the product onto paint and wipe with a microfiber cloth. Spray wax is convenient for quick touch-ups and maintenance between more intensive waxing sessions. However, spray wax durability is limited, typically lasting only 2 to 4 weeks before requiring reapplication. Spray wax works best as a maintenance product between thorough waxing sessions rather than primary protection method.
Synthetic wax products offer different characteristics than natural wax. Synthetic waxes often provide enhanced durability and UV protection compared to traditional formulations. Hybrid products combining natural and synthetic waxes attempt to blend benefits of both approaches. Product selection depends on your priorities regarding durability, appearance, and application effort.
Quality matters significantly when selecting wax products. Premium waxes from reputable manufacturers typically outperform budget alternatives in durability and appearance benefits. The small additional cost of quality wax is justified by superior performance and extended protection duration.
Preparing Your Vehicle: The Foundation for Successful Waxing
Successful waxing begins with thorough preparation. Wax cannot adhere properly to dirty or contaminated paint, and applying wax over surface contaminants traps dirt under the protective layer where it causes damage and accelerates deterioration.
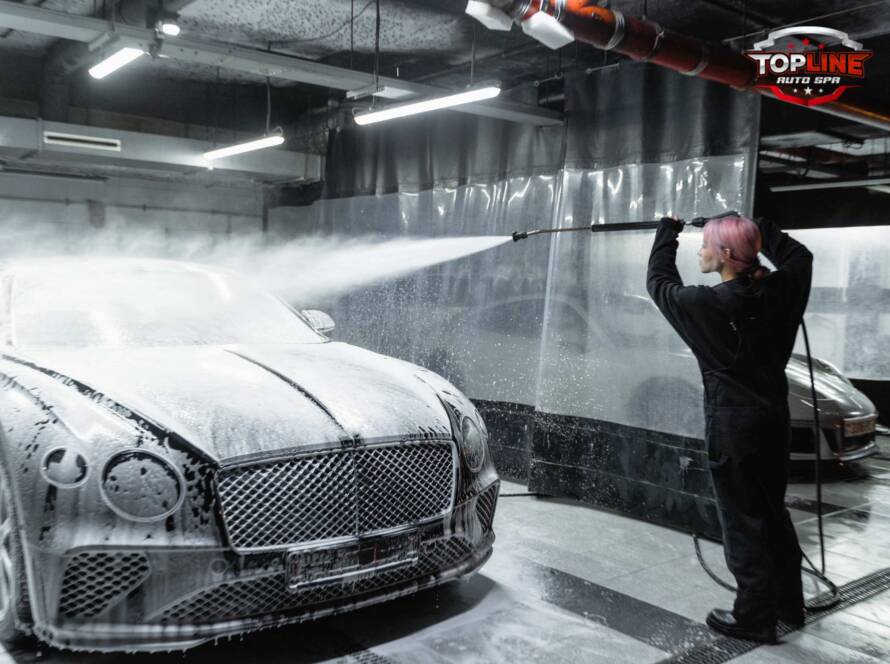
Wash your vehicle thoroughly with quality car wash soap and appropriate washing technique. Use the two-bucket method, maintaining one bucket with soapy water for washing and one bucket with clean water for rinsing your wash mitt. This technique prevents redepositing contaminants removed from your vehicle back onto the paint. Work systematically across your vehicle, ensuring all surfaces including roof, undercarriage, and trim areas are cleaned.
Dry your vehicle completely with clean microfiber towels after washing. Water remaining on paint interferes with wax application and prevents proper adhesion. Some enthusiasts prefer using a leaf blower or compressed air for final drying, which is highly effective for reaching crevices and preventing water spots.
Paint decontamination through clay bar treatment removes bonded environmental contaminants that regular washing cannot address. Clay bar treatment uses a special decontamination bar that adheres to and removes brake dust, industrial fallout, tree sap residue, and other particles bonded to clear coat. After clay bar treatment, run your hand across your paint. The dramatic smoothness improvement confirms contaminant removal.
Clay bar treatment is not absolutely necessary before every waxing session, but it significantly improves wax adhesion and longevity. At minimum, clay bar treatment before initial waxing ensures optimal results. Subsequent waxing sessions on well-maintained vehicles might proceed directly to waxing without decontamination.
Some vehicles benefit from professional paint correction before waxing if significant swirl marks, water spots, or oxidation exist. Paint correction addresses these imperfections, creating smooth surface to which wax adheres optimally. Professional paint correction combined with waxing creates superior results compared to waxing alone.
After washing and decontamination, allow paint to cool slightly if working in direct sunlight. Cool paint accepts wax more readily than hot paint. Some professionals recommend waiting until evening to wax, allowing paint to cool from daytime heat.
Selecting and Preparing Your Waxing Supplies
Gathering appropriate supplies before beginning waxing ensures smooth application and professional results.
Quality wax product selection matters significantly. Research wax options before purchasing, reading reviews and understanding product characteristics. Premium brands typically outperform budget alternatives in durability and appearance benefits. Consistency matters as well. Some waxes separate or thicken in cold storage, requiring initial stirring before use.
Application pads or cloths are critical for successful waxing. Foam applicator pads designed specifically for wax application work best for most paste waxes. These pads apply product evenly while preventing waste. Avoid using old cloths or paper towels which can scratch paint. Select applicators that feel soft and don’t leave lint residue.
Microfiber towels for buffing are essential. Multiple microfiber towels allow you to use clean cloth for each section, preventing dirt redistribution. Avoid using the same towel repeatedly across your vehicle, which redeposits removed contaminants. Quality microfiber towels don’t scratch paint and provide excellent buffing capability.
Optional supplies include applicator handles that reduce hand fatigue during application, specialized wax removal sprays that assist buffing, and plastic trim protectors preventing wax buildup on rubber trim. These items aren’t essential but enhance comfort and results.
Workspace preparation ensures comfortable working conditions. Wax application takes 2 to 4 hours depending on vehicle size, so selecting a shaded location prevents heat-related issues. Ensure adequate lighting for seeing product coverage clearly. Working on cool paint in mild temperatures produces best results.
Step-by-Step Waxing Process: From Application to Buffing
Understanding proper waxing technique ensures even coverage, optimal adhesion, and professional results.
Begin with small vehicle sections rather than attempting to wax your entire vehicle at once. Section-by-section application prevents product from drying excessively before buffing. Divide your vehicle into logical sections: hood, each fender, each door, roof, rear quarter panels, and bumpers.
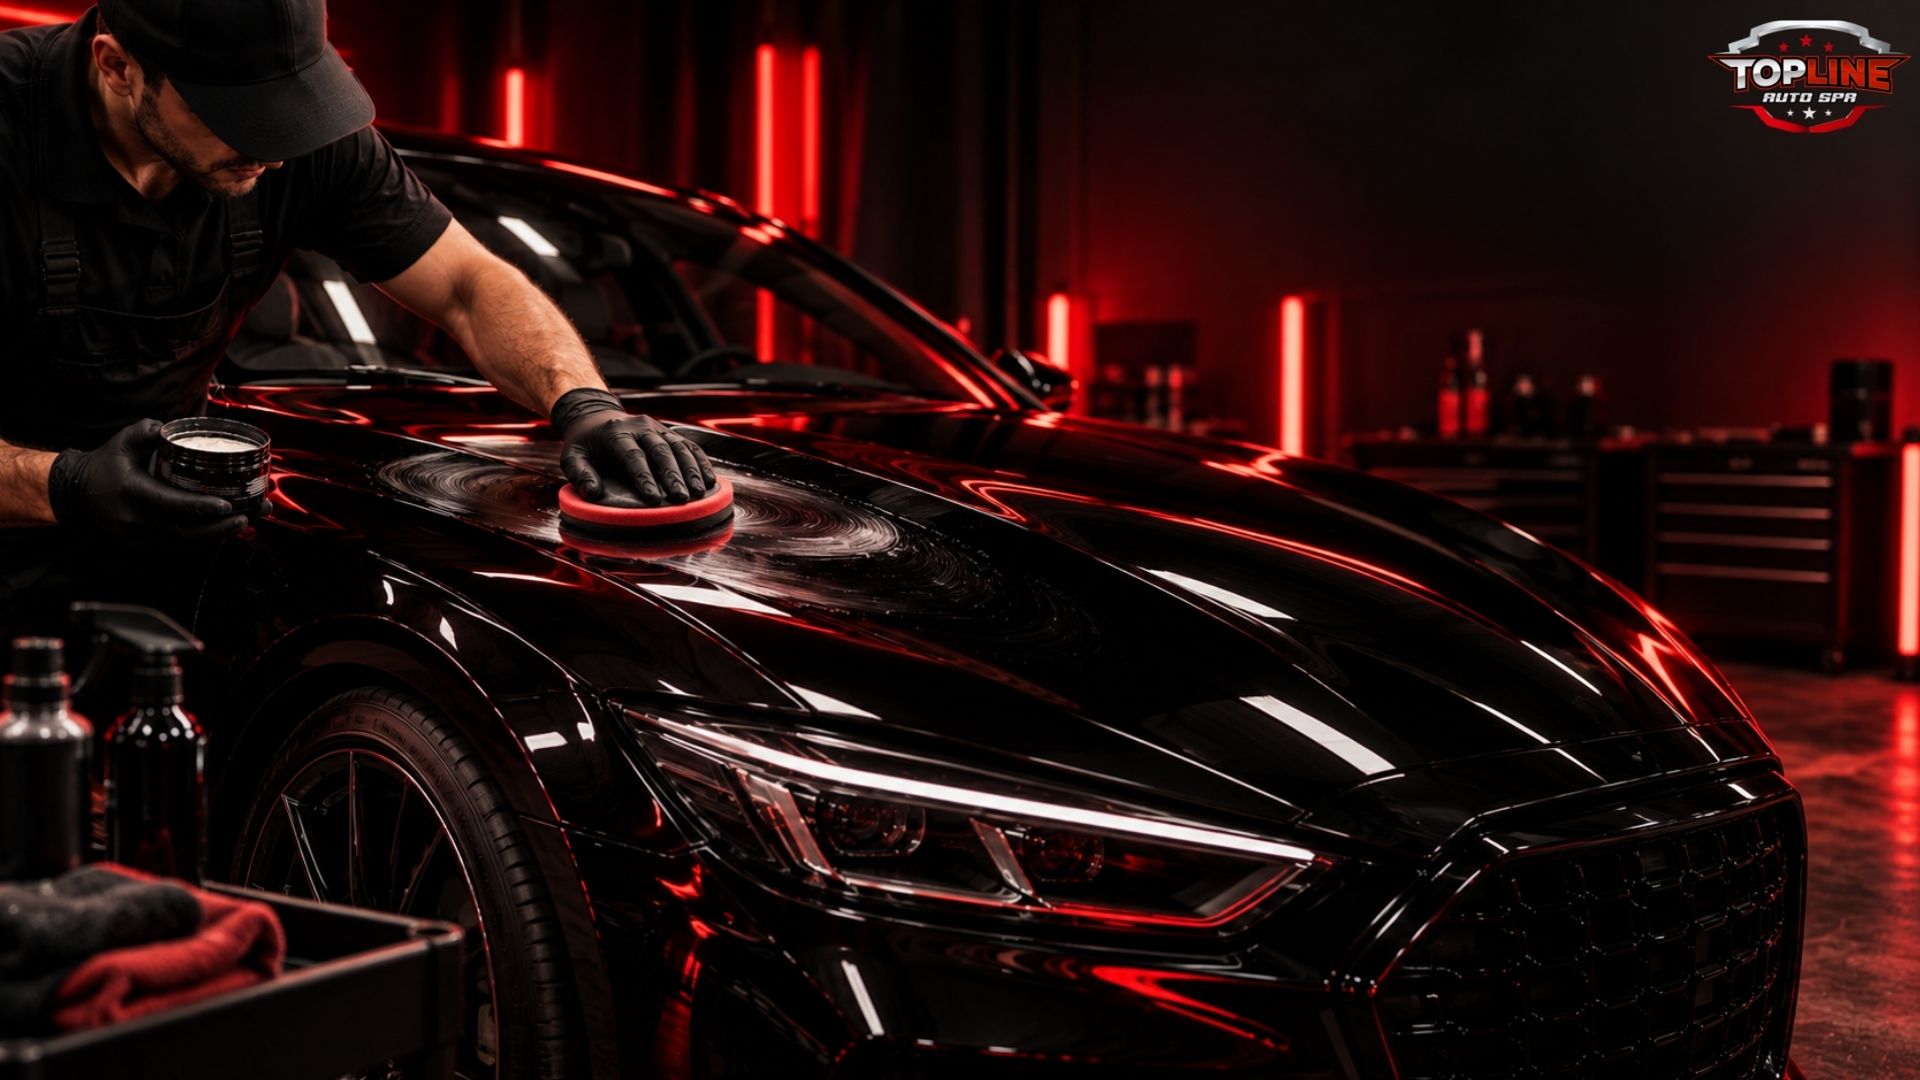
Apply wax using your foam applicator pad. Use minimal product, starting with a thin layer. Excessive wax creates waste and requires excessive buffing. Work the wax across your selected section using circular or overlapping motions. Apply light to medium pressure, allowing the applicator pad to spread product evenly. The goal is creating a thin, even layer covering all paint in that section.
Allow wax to cure slightly, typically 5 to 15 minutes depending on product formulation and environmental conditions. During curing, the product hardens slightly and solvents evaporate, transitioning from liquid application state to solid form suitable for buffing. The exact curing time varies by product, so check manufacturer recommendations for guidance.
Buff cured wax using clean microfiber towels. Use overlapping circular or linear motions, applying moderate pressure. The goal is removing all visible wax residue and haze, leaving only thin protective coating on paint. Continue buffing until paint beneath wax becomes visible and glossy. A microfiber towel with slight dampness sometimes assists buffing by preventing dust and reducing resistance.
Examine buffed surfaces in natural light to ensure even coverage and haze removal. Look for any areas still showing wax haze, and buff those sections until clear. Incomplete buffing leaves residue that looks unprofessional and can attract dirt.
Move to your next vehicle section and repeat the application and buffing process. Maintain consistent technique throughout all sections ensuring uniform results across your entire vehicle.
Pay special attention to trim areas where wax sometimes accumulates. Plastic trim, rubber seals, and other non-painted surfaces benefit from careful wax removal to prevent white residue buildup. Slightly dampened microfiber cloth works well for removing wax from trim areas without damaging them.
Complete buffing all sections until your entire vehicle displays uniform gloss and clarity. Final inspection under different lighting angles confirms thorough wax coverage and reveals any missed areas requiring additional attention.
Maintenance Between Waxing Sessions: Extending Protection
Proper care between waxing sessions extends wax protection duration and maintains appearance quality.
Regular washing remains the most important maintenance between waxing. Gentle hand washing with quality car wash soap removes surface contaminants before they accumulate. Frequent light washing prevents buildup requiring intensive cleaning later. The protective wax coating remains effective even with regular washing if appropriate technique is maintained.
Avoid automatic car washes with brushes that can scratch paint and compromise wax layer. Hand washing or touchless automatic washes preserve wax integrity better than brush-equipped systems.
Drying after washing prevents water spotting that compromises appearance. Use clean microfiber towels or leaf blower for thorough drying. Hard water spotting removal sometimes requires clay bar treatment or professional assistance if spots become etched into clear coat.
Parking considerations protect waxed paint. When possible, park in shaded areas limiting UV exposure. Parking under trees exposes your vehicle to sap and pollen requiring prompt removal. Avoid parking near industrial areas where pollution deposits accelerate deterioration.
Protective coverings like car covers provide maximum protection during extended storage or between regular driving. Quality car covers breathe to prevent moisture accumulation while protecting paint from environmental exposure.
Periodic inspection identifies damage or wax degradation early. Regularly assess whether water still beads on your paint, indicating remaining wax protection. When beading diminishes significantly, wax reapplication becomes necessary.
Professional Detailing vs. DIY Waxing: Making Your Decision
Deciding between DIY waxing and professional car detailing services depends on several factors specific to your situation.
DIY waxing costs significantly less in materials, typically $20 to $60 for quality wax product. You handle all labor yourself, saving professional service costs. The satisfaction many enthusiasts find in performing their own vehicle care motivates regular DIY waxing.
DIY waxing requires time investment, typically 2 to 4 hours for a complete vehicle depending on size and application skill. For busy owners, this time commitment may be prohibitive. Professional services complete waxing much faster through experienced efficiency and sometimes mechanical application.
Professional waxing ensures even coverage and optimal technique. Experienced technicians understand subtle aspects of application that DIY attempts sometimes miss. Professional results often appear superior to DIY results, particularly for first-time applicants still developing technique.
Professional services integrate waxing into comprehensive detailing addressing overall vehicle cleanliness and appearance. Professional detailing includes washing, decontamination, drying, and often paint correction before waxing application. This comprehensive approach produces superior results compared to DIY waxing on minimally prepared paint.
Professional warranty protection provides assurance. If waxing fails or problems develop within warranty period, professional shops address them at no additional cost. DIY waxing offers no such protection.
Cost of professional waxing typically ranges from $100 to $250 depending on vehicle size and service integration. This represents more expensive option than DIY materials but reflects comprehensive service and professional guarantee.
For first-time waxing or vehicles with significant paint condition issues, professional services justified the cost through superior results and assurance. For experienced DIYers maintaining regular waxing schedules, DIY approach provides economical, satisfying results.
Waxing Frequency: How Often Should You Wax Your Car?
Understanding appropriate waxing frequency helps you maintain consistent protection without unnecessary over-application.
Quality paste wax typically lasts 3 to 4 months before protection degrades sufficiently to require reapplication. Liquid wax durability is similar, typically lasting 2 to 3 months. Spray wax provides much shorter protection, lasting 2 to 4 weeks before requiring reapplication.
Waxing frequency depends on several factors including climate, vehicle usage, storage conditions, and quality of product applied. Vehicles parked outdoors year-round require more frequent waxing than garaged vehicles. Harsh climates accelerate wax degradation compared to mild climates.
For Lehigh Valley residents, winter season accelerates wax degradation significantly. Road salt and temperature extremes stress wax protection. Pre-winter waxing before holiday season provides maximum protection during harshest conditions. Spring waxing after winter exposure restores protection for summer months.
Simple water beading test indicates remaining wax protection. Spray water onto clean paint and observe whether water beads up and rolls away (indicating remaining protection) or spreads across surface (indicating wax has degraded). When beading diminishes notably, reapplication becomes necessary.
Most enthusiasts establish regular waxing schedules, typically quarterly or semi-annually. Regular scheduled waxing prevents gaps in protection while avoiding unnecessary over-application. Seasonal waxing (spring and fall) provides protection during transition seasons when weather conditions become harsh.
Over-waxing is unnecessary and wasteful. Applying multiple wax layers doesn’t increase protection proportionally. One properly applied layer provides adequate protection until degradation requires reapplication.
Waxing vs. Ceramic Coating: Understanding Protection Alternatives
Comparing waxing to professional ceramic coating helps you understand when waxing is appropriate and when alternative protection methods merit consideration.
Waxing has been protecting vehicle paint for decades, providing proven, affordable protection accessible to most vehicle owners. Ceramic coating represents newer technology offering longer-lasting protection than wax but requiring professional installation and representing significantly larger investment.
Comparing waxing and ceramic coating protection options helps clarify whether traditional wax meets your needs or whether upgrading to ceramic coating justifies the expense. Ceramic coating lasts 2 to 5 years compared to wax’s 3 to 4 months, reducing reapplication frequency dramatically.
Wax remains appropriate for vehicle owners seeking affordable, effective protection willing to perform regular maintenance. Ceramic coating appeals to owners prioritizing ultimate protection and minimal maintenance, accepting larger upfront investment for years of consistent protection.
Cost comparison reveals wax’s affordability. Annual waxing cost of $200 to $600 for DIY or professional application compares favorably to ceramic coating’s $400 to $1,200 per application lasting multiple years.
Many vehicle owners use hybrid approach combining wax with regular detailing maintenance. This method provides reliable protection while maintaining flexibility and affordability.
Special Considerations: Waxing Different Vehicle Surfaces
Different vehicle surfaces require slightly different waxing approaches and considerations.
Dark colored paint shows wax buildup and water spots more prominently than light colors. Extra care during buffing ensures complete wax removal preventing white residue. Additional buffing passes might be necessary on dark vehicles.
Light colored paint hides minor buffing imperfections better but shows swirl marks and scratches more readily. Careful application technique prevents introducing new damage during waxing process.
Matte or satin finish paint requires specialized products designed for these finishes. Standard wax designed for glossy paint can compromise matte appearance. Verify product compatibility before application.
Plastic bumpers and trim accept wax but accumulate white residue if over-waxed. Consider protecting plastic trim during waxing using painter’s tape or simply being extra careful during application to avoid excessive wax on non-painted surfaces.
Vinyl wraps and protective films require compatible products. Standard wax might not work with film surfaces. Consult film manufacturer recommendations before applying wax to wrapped vehicles.
Glass surfaces should generally be protected during waxing to prevent wax accumulation. Painter’s tape around windows or simply careful application prevents wax contact with glass.
Common Waxing Mistakes to Avoid
Understanding common mistakes helps you avoid problems that compromise waxing effectiveness or create additional work.
Applying wax over dirty paint wastes product and creates poor adhesion. Thorough washing and decontamination before waxing ensures proper adhesion and optimal protection.
Using excessive wax product creates waste and requires excessive buffing. Thin, even application is more effective than heavy application. Quality matters more than quantity.
Incomplete buffing leaves wax haze on paint, creating unprofessional appearance and potentially attracting dirt. Allow adequate curing time and maintain consistent buffing pressure throughout all sections.
Applying wax in direct sunlight causes premature drying and creates application challenges. Work in shaded areas or during evening hours when paint is cooler.
Mixing different wax products or incompatible products creates unpredictable results. Stick with single product system throughout your waxing project.
Skipping surface preparation or attempting waxing on heavily damaged paint produces disappointing results. Paint correction before waxing ensures smooth surface accepting wax optimally.
Neglecting to allow proper curing time between application and buffing results in wax not setting properly and buffing being difficult.
Using inappropriate applicators or buffers that scratch paint defeats the purpose of waxing protection. Invest in quality tools designed specifically for waxing.
Conclusion: Waxing as Foundation of Paint Care
Learning how to wax your car properly establishes foundation for paint protection and appearance maintenance. Waxing remains affordable, accessible, and effective paint protection method that most vehicle owners can perform successfully with proper technique and quality products.
Whether you choose DIY waxing or professional detailing services, committing to regular waxing schedules maintains your vehicle’s appearance and protects paint investment. For Lehigh Valley residents facing harsh climate conditions including road salt, UV exposure, and hard water, regular waxing provides essential protection against environmental degradation.
Waxing represents just one component of comprehensive paint care strategy. Combining regular waxing with proper washing technique, professional detailing services when needed, and protective coating options creates optimal paint preservation approach. Your vehicle’s paint represents significant investment deserving appropriate protection and maintenance.
Start with quality products, follow proper preparation and application technique, and maintain consistent waxing schedule. The results reward your effort with glossy, protected paint that maintains appearance and value throughout vehicle ownership.
Ready to protect your vehicle’s paint professionally? TopLine Auto Spa provides comprehensive detailing services including professional waxing, paint preparation, and advanced protection options. Contact us to schedule your professional waxing service or discuss long-term paint protection strategies suited to your vehicle and Lehigh Valley climate.
Frequently Asked Questions
1. How often should I wax my car?
Quality paste or liquid wax typically lasts 3 to 4 months before requiring reapplication. Spray wax lasts only 2 to 4 weeks. Seasonal waxing before winter and spring provides protection during harsh conditions. Simple water beading test indicates when reapplication becomes necessary.
2. Can I wax my car in direct sunlight?
It’s not recommended. Direct sunlight heats paint, causing wax to dry too quickly and making application difficult. Work in shaded areas or during morning or evening hours when paint is cooler for best results.
3. What’s the difference between paste wax and liquid wax?
Paste wax provides superior durability lasting 3 to 4 months and typically offers better appearance, but requires more application effort. Liquid wax is easier to apply with similar durability. Spray wax is easiest but lasts only weeks, working best for maintenance between thorough waxing sessions.
4. Do I need to wax if I have ceramic coating?
No. Ceramic coating provides superior, longer-lasting protection making wax unnecessary. Ceramic coating lasts 2 to 5 years compared to wax’s 3 to 4 months, eliminating need for frequent reapplication.
5. Can I wax over old wax?
Yes, you can apply fresh wax over existing protection. However, removing old wax first through aggressive washing or wax strippers ensures optimal bonding of new product. Most professional applications remove old wax before applying fresh product.
6. How long does car waxing take?
DIY waxing typically takes 2 to 4 hours depending on vehicle size and applicator skill. Professional waxing completes faster, typically 1 to 2 hours, due to experience and sometimes mechanical application methods.
7. Will waxing protect my car from scratches?
Wax provides protection against UV damage, oxidation, and environmental contaminants but cannot prevent scratches from contact damage. Paint protection film provides better protection against scratches and rock chips than wax alone.
8. Should I wax my car before winter?
Yes. Pre-winter waxing before holiday season provides maximum protection during harsh winter conditions when road salt and temperature extremes stress paint most aggressively. This timing protects your vehicle through the most damaging season.
9. What if I get wax on plastic trim?
Use slightly dampened microfiber cloth to remove wax from plastic trim. Avoid excessive force that might damage trim. Light buffing typically removes wax residue from trim areas without damage.
10. Is professional car waxing worth the cost?
Professional waxing costs $100 to $250 depending on vehicle size. For first-time waxing or heavily damaged paint, professional service ensures superior results and proper preparation. For experienced DIYers, DIY application provides economical results.