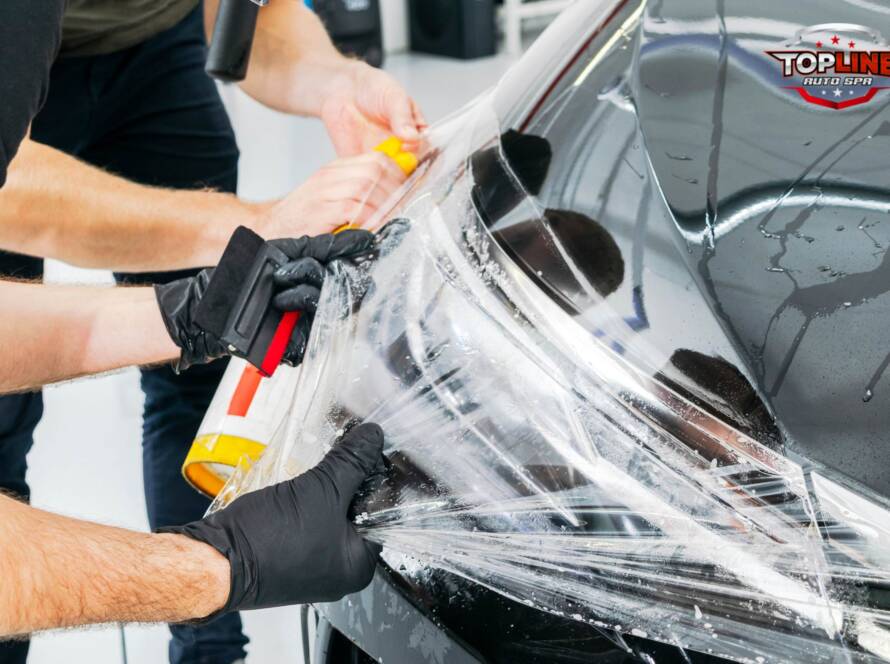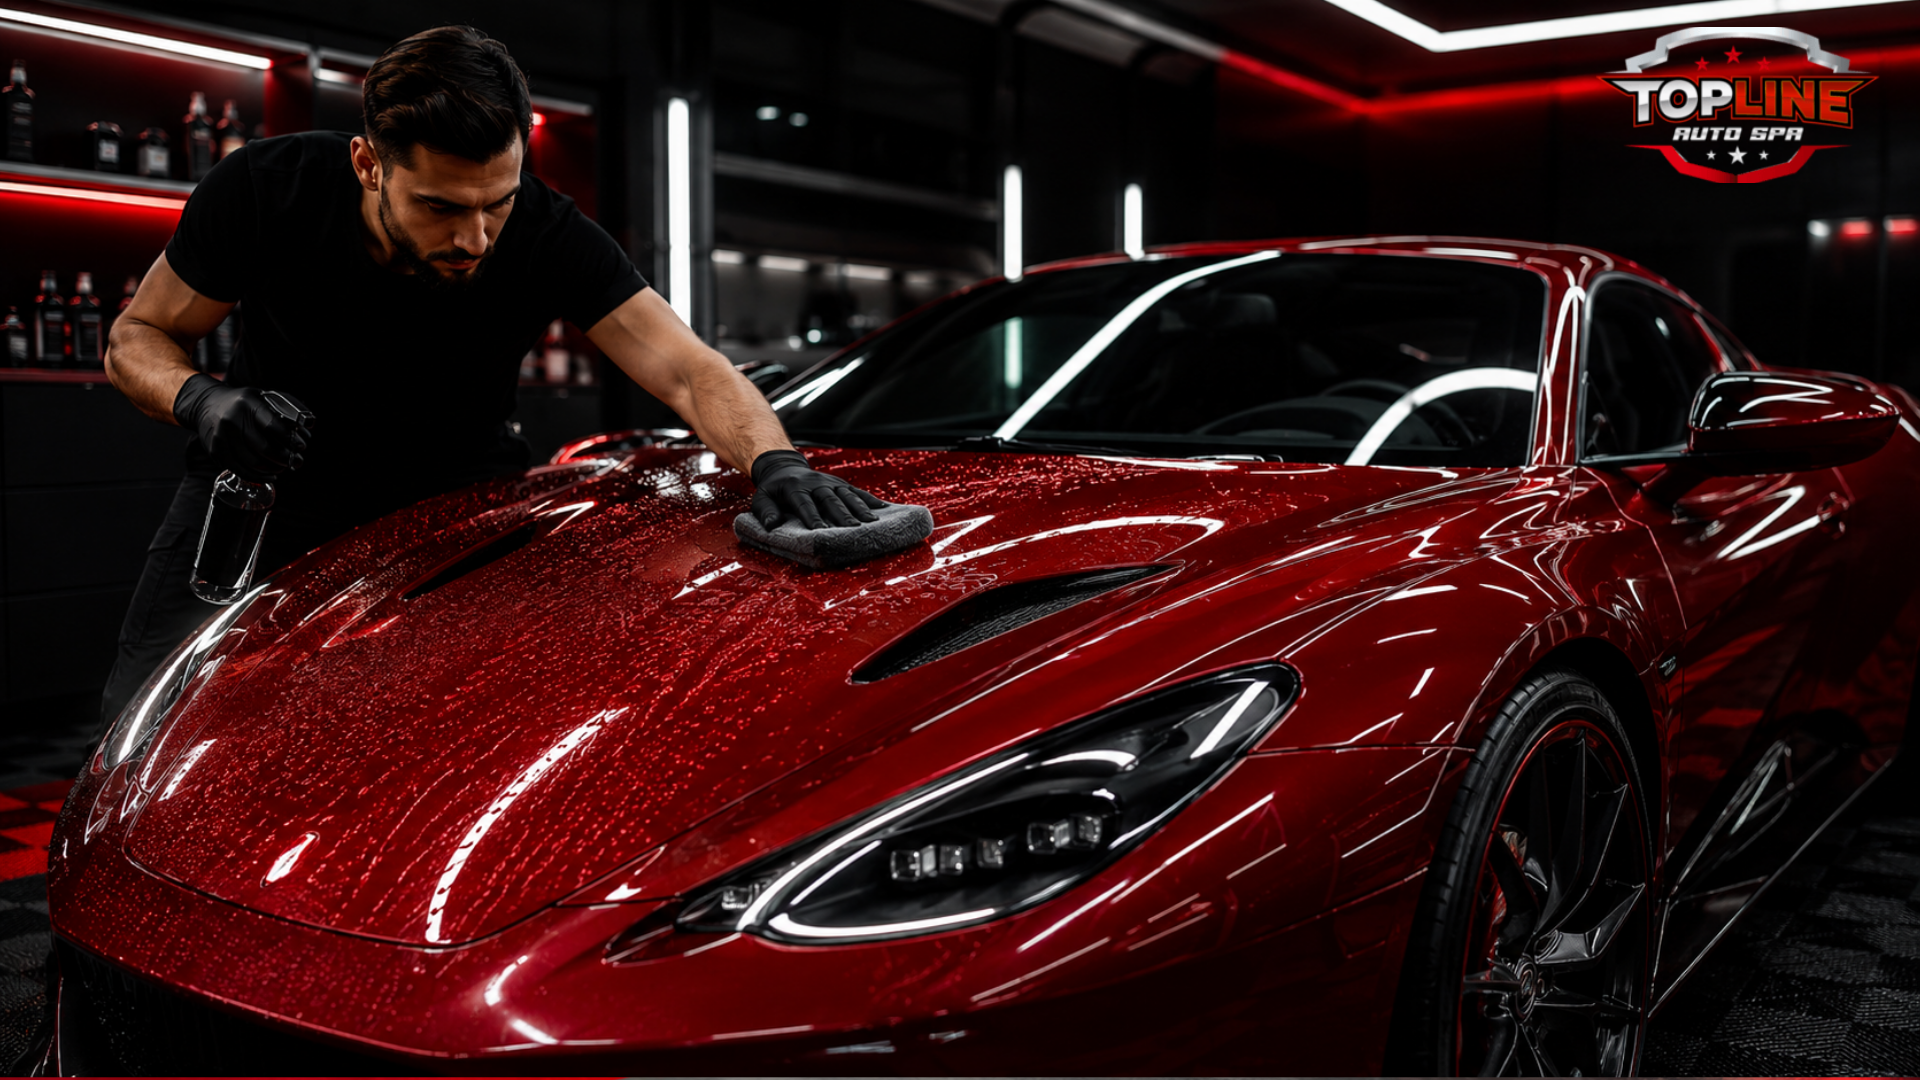
Your vehicle’s paint represents a significant investment. Yet many car owners spend hundreds or thousands of dollars on ceramic coating without properly preparing their paint first. This is a critical mistake that undermines the entire ceramic coating investment. Pre-ceramic coating preparation determines whether your ceramic coating bonds properly, lasts its intended lifespan, and delivers the protection and appearance benefits you expect. Without proper preparation, even the highest-quality ceramic coating applied to inadequately prepared paint will underperform, bond poorly, and fail prematurely.
Pre-ceramic coating preparation is not a single step it’s a comprehensive process of systematically removing everything preventing your ceramic coating from achieving optimal adhesion to your clear coat. Environmental contaminants, old wax residue, oxidation, swirl marks, and dozens of other issues must be addressed before coating application. The preparation phase determines your ceramic coating’s success far more than the coating product itself.
Most vehicle owners underestimate how thoroughly paint must be prepared before ceramic coating application. Professional detailers spend 50-70% of their time on preparation and only 30-50% on actual coating application. This ratio reveals how critical preparation is. A properly prepared vehicle with average ceramic coating will outperform a poorly prepared vehicle with premium coating every single time.
For Lehigh Valley residents, pre-ceramic coating preparation takes on additional importance. Our regional climate with road salt exposure, hard water, industrial pollution, and extreme temperature swings creates substantial paint contamination that requires thorough preparation before coating application. Vehicles in our area need comprehensive preparation more than vehicles in milder climates.
This comprehensive guide walks you through every step of pre-ceramic coating preparation, from initial assessment through final surface preparation. Understanding this process helps you appreciate why professional preparation matters and ensures your ceramic coating investment delivers years of protection and appearance benefits.
Key Takeaways
- Pre-ceramic coating preparation determines coating success more than the coating product itself
- Paint must be completely free of contaminants, old protection, oxidation, and damage before coating application
- Professional paint decontamination removes brake dust, industrial fallout, and bonded contaminants that regular washing misses
- Paint correction addresses swirl marks, scratches, and oxidation that would be locked in by ceramic coating
- The preparation process includes washing, decontamination, paint correction, final cleaning, and surface inspection
- Improper preparation results in poor coating adhesion, premature failure, and wasted coating investment
- Lehigh Valley’s climate makes thorough preparation particularly important for long-term coating performance
- DIY preparation requires meticulous attention to detail and proper products to achieve professional results
- Professional preparation guarantees optimal coating bonding and maximum coating lifespan
- Skipping preparation steps saves time initially but costs far more through coating failure and reapplication
Understanding Pre-Ceramic Coating Preparation: Why It Matters
Pre-ceramic coating preparation is the foundation upon which all ceramic coating success is built. Ceramic coating works through chemical bonding with your vehicle’s clear coat. For this bonding to occur properly, your clear coat must be free of anything preventing direct molecular contact between the coating and paint.
Think of ceramic coating application like painting a wall. Professional painters spend days preparing the surface filling holes, sanding imperfections, washing away dust before applying a single coat of paint. A wall painted without proper preparation shows every imperfection, develops poor adhesion, and requires frequent repainting. Vehicle paint preparation follows identical principles.
Your vehicle’s paint accumulates layers of contamination over time. The most visible layer is dirt and grime removed by regular washing. Below that sits environmental fallout bonded to your clear coat brake dust particles, industrial pollution, tree sap residue, and road salt deposits. Below that might be old wax, sealant residue, or oxidation. Each of these layers prevents ceramic coating from bonding to your actual clear coat.
When ceramic coating is applied to contaminated paint, the coating doesn’t bond with your clear coat it bonds with the contamination layer. This weak bond results in poor adhesion, rapid failure, and complete waste of your ceramic coating investment. The coating might begin peeling within months. Water beading might disappear within weeks. The hydrophobic protection might never fully develop.
Proper preparation ensures ceramic coating bonds with your actual clear coat, not with surface contamination. This strong molecular bond ensures the coating lasts its full intended lifespan typically 2-5 years depending on the specific product and provides the protection and appearance benefits you paid for.
Assessing Your Paint: The First Step in Preparation
Before beginning any preparation work, honestly assessing your paint’s current condition determines which preparation steps are necessary and how intensive they need to be.
Examine your paint’s visual condition carefully. Does it appear dull or hazy? This indicates oxidation or heavy contamination. Does your paint have visible swirl marks or fine scratches when light reflects across it? Swirl marks indicate improper washing technique has damaged your clear coat. Does your paint show evidence of water spots or mineral deposits? These indicate mineral buildup from hard water exposure.
Feel your paint with your hand. This tactile assessment is as important as visual inspection. Run your hand across your paint in different areas and directions. Does the paint feel rough and textured? This roughness indicates bonded contaminants that haven’t been removed. Does the paint feel smooth and slick? Smooth paint indicates fewer bonded contaminants. The smoother your paint feels, the less intensive preparation needs to be.
Inspect specific areas carefully. Hood and roof typically show the most contamination and oxidation from direct sun exposure. Lower panels and door jambs show less visible contamination. Areas under trees or near industrial facilities show heavier pollution deposits.
Look for evidence of previous treatments. Does your paint show signs of old wax or sealant? Does oxidation appear in lines indicating where old protection ended? Previous treatments must be completely removed before ceramic coating application.
Assess damage honestly. Does your paint show scratches, swirl marks, or oxidation that bothers you? If so, professional paint correction before ceramic coating application will restore your paint’s clarity and depth. Ceramic coating will lock in any existing damage, so addressing it before coating makes sense.
This honest assessment determines your preparation strategy. Light contamination requires basic decontamination. Heavy oxidation and damage require paint correction before coating. Understanding your paint’s actual condition prevents overestimating or underestimating the preparation work needed.
Step One: Thorough Washing and Initial Cleaning
The preparation process begins with thorough washing that removes all loose contamination from your vehicle’s exterior.
Wash your vehicle with quality car wash soap and appropriate wash technique. Use the two-bucket method one bucket with soapy water for washing, one bucket with clean water for rinsing your wash mitt. This technique prevents reapplying contaminants removed from your vehicle back onto the paint.
Wash in a shaded area when possible. Direct sun causes water spots and interferes with product effectiveness. Avoid automatic car washes with brushes that can scratch paint. Hand washing with soft wash mitts provides optimal control and prevents accidental scratching.
Dry your vehicle thoroughly after washing. Water remaining on paint interferes with subsequent preparation steps. Use clean microfiber towels or a leaf blower to dry all areas including crevices, door jambs, and underneath trim.
Pay attention to often-missed areas. Door jambs, trunk edges, and areas under rubber trim collect significant contamination. These areas require thorough cleaning even though they’re less visible.
For vehicles with heavy contamination from road salt, industrial pollution, or tree sap, consider two wash cycles. The first wash removes most loose contamination. The second wash cleans more thoroughly after initial contamination is removed.
Pre-wash spray products designed to loosen stubborn contamination can precede the main wash for heavily contaminated vehicles. These products break down bonded contamination slightly, making removal easier during the wash process.
Initial washing is the foundation of all subsequent preparation work. Thorough washing at this stage removes loose contamination before more intensive decontamination work begins.
Step Two: Paint Decontamination Through Clay Bar Treatment
After initial washing, clay bar decontamination removes embedded environmental contaminants that regular washing cannot address.
Clay bar treatment uses specialized decontaminant bars that grab bonded contamination from your clear coat. Brake dust particles, industrial fallout, tree sap residue, and road tar stick to the clay, removing them from your paint. When you run your hand across clay-treated paint, the dramatic smoothness improvement confirms contamination removal.
Select appropriate clay bar grade for your paint condition. Fine grade clay bars address light contamination. Medium grade handles moderate buildup. Heavy duty clay bars tackle severe contamination. For pre-ceramic coating preparation, medium grade clay bars suit most vehicles.
Apply clay bar with generous lubricating spray that prevents scratching and allows smooth gliding. Work methodically across your vehicle, treating all painted surfaces. The clay should glide smoothly, not drag or catch. Dragging indicates insufficient lubrication.
As the clay bar works, you’ll feel resistance gradually decreasing. This indicates progressive contamination removal. Once a section feels smooth, move to the next area. Work systematically across hood, fenders, doors, roof, and rear surfaces.
Fold the clay bar occasionally to expose fresh surface as the exposed side accumulates contaminants. When the entire clay ball becomes saturated with contamination, discard it and use a fresh one.
Rinse treated areas frequently as you progress. This removes clay residue and loose contaminants before they can redeposit on clean paint. Final complete rinsing after treating all surfaces removes all clay residue.
Many vehicle owners skip clay bar treatment thinking it’s optional. For ceramic coating preparation, clay bar treatment is essential. Ceramic coating applied over clay-contaminated paint won’t achieve optimal adhesion. Professional preparation always includes clay bar decontamination.
Step Three: Professional Detailing for Comprehensive Cleaning
After clay bar decontamination, professional detailing provides comprehensive cleaning and assessment of your paint’s current condition.
Professional detailing goes beyond washing and clay bar treatment. Professional detailers use specialized techniques, products, and sometimes equipment that reach contamination and conditions that consumer products and methods miss.
Professional detailing includes inspection under specialized lighting that reveals swirl marks, scratches, and oxidation invisible under normal lighting. This assessment determines whether paint correction is necessary before coating application. Discovering damage during professional detailing is far better than discovering it after ceramic coating is applied and the damage is locked in permanently.
Interior detailing during pre-ceramic coating preparation might seem unnecessary, but professional detailers often assess the entire vehicle during preparation services. Interior condition can indicate how well the owner maintains their vehicle, influencing preparation recommendations.
Professional detailing identifies problem areas requiring special attention during preparation. Water stains in specific areas might indicate weather seal issues. Heavy oxidation in certain spots might suggest prior damage or inadequate previous protection. Contamination patterns reveal whether the vehicle has been parked under trees, near industrial areas, or exposed to road salt regularly.
Professional detailers use products and techniques optimized for pre-ceramic coating preparation. They understand how different products interact with your specific paint type. They know which cleaning products remove old wax completely without damaging clear coat. This expertise ensures comprehensive cleaning without unintended damage.
The investment in professional detailing during preparation phase prevents costly mistakes that could compromise your ceramic coating investment.
Step Four: Paint Correction for Existing Damage
If assessment reveals swirl marks, scratches, oxidation, or other paint damage, professional paint correction addresses these issues before ceramic coating application.
Paint correction uses controlled polishing and sometimes light sanding to restore paint clarity and remove minor damage. This isn’t the same as ceramic coating application it’s restoration of your paint’s original appearance and depth.
Light paint correction addresses minor swirl marks and fine scratches that would be locked in by ceramic coating if not corrected first. Light correction typically involves one-stage polishing with appropriate compound and pad.
Medium paint correction addresses moderate damage including swirl marks, scratches, water spots, and light oxidation. This level of correction might involve two-stage polishing first with compound to address damage, then with polish to restore gloss.
Heavy paint correction addresses significant oxidation, deep scratches, or extensive swirl marks. This intensive correction might involve wet sanding followed by multi-stage polishing. Heavy correction produces dramatic appearance improvement, restoring paint’s depth and clarity dramatically.
Professional paint correction technicians have expertise, equipment, and experience that ensures optimal results. They understand exactly how much material can be safely removed from your clear coat while addressing damage. They know when further correction risks compromising clear coat integrity.
Paint correction must be completed before ceramic coating application. Coating traps any existing damage under its protective layer. Once trapped, damage becomes permanent until the coating fails and removal becomes necessary. Correcting damage before coating ensures your painted surface is as perfect as possible.
The investment in paint correction before ceramic coating often seems expensive initially. However, it ensures your ceramic coating is protecting flawless paint rather than locking in damage you’ll regret later.
Step Five: Final Cleaning and Surface Preparation
After all previous preparation steps, final cleaning ensures absolutely no contamination remains before ceramic coating application.
Final wash with quality car wash soap removes polishing residue from paint correction and any contamination settled on the surface during preparation work. This wash is careful and methodical, using soft wash mitts to avoid introducing new swirl marks after all correction work.
Final drying with clean microfiber towels removes all water. Water remaining on paint prevents ceramic coating from bonding properly. Some professional detailers use compressed air or leaf blowers for final drying to ensure absolutely no moisture remains.
Final inspection under appropriate lighting verifies no contamination remains. Professional detailers often use specialized lighting revealing any remaining issues. This final inspection might reveal spots requiring additional attention before coating application can proceed.
Some professional facilities use isopropyl alcohol wipe-down as a final step. This removes any trace residue and ensures the surface is chemically clean and ready for coating bonding. Isopropyl alcohol evaporates completely, leaving no film.
The timing between final cleaning and ceramic coating application matters. Ideally, coating should be applied within hours of final surface preparation. This prevents new contamination from settling on the freshly cleaned surface.
Temperature and humidity control during final preparation and coating application ensures optimal conditions for coating bonding. Professional facilities maintain controlled environments with appropriate temperature and humidity ranges specifically to optimize ceramic coating application and curing.
Why Professional Pre-Ceramic Coating Preparation Matters
While DIY preparation is possible, professional preparation offers significant advantages that justify the investment.
Professional facilities have specialized equipment designed specifically for pre-ceramic coating preparation. They have clay bar supplies in multiple grades, professional-grade polishing equipment, specialized lighting for inspection, and controlled environment facilities for optimal application conditions.
Professional technicians bring years of experience evaluating paint condition and determining appropriate preparation intensity. They recognize subtle issues that untrained eyes miss. They understand how different paint types respond to various preparation techniques. This expertise ensures preparation that’s thorough without being excessive.
Professional preparation includes warranty protection. If coating fails due to inadequate preparation, reputable shops stand behind their work. DIY preparation offers no such protection. If your coating fails, you bear complete responsibility and cost for correction.
Integrated preparation and application service ensures coordination. Professional shops prepare specifically for their ceramic coating product. They understand how their specific coating responds to different clear coat conditions. This coordination ensures optimal results.
Professional efficiency saves time. Thorough professional preparation might take 8-12 hours for a complete vehicle. DIY preparation taking 20-30 hours represents significant personal time investment. For busy owners, professional service’s time savings is valuable.
The investment in professional pre-ceramic coating preparation ensures your ceramic coating investment delivers maximum benefit and longevity.
Pre-Ceramic Coating Preparation for Lehigh Valley Vehicles
Lehigh Valley residents face specific environmental challenges affecting how thorough pre-ceramic coating preparation must be.
Road salt from winter maintenance creates heavy brake dust and salt-based contamination requiring intensive decontamination. Vehicles regularly exposed to road salt require heavy-duty clay bar treatment and might benefit from multiple decontamination cycles.
Hard water from mineral-rich local water supplies leaves deposits that must be completely removed before coating application. Mineral residue on paint prevents proper coating adhesion. Thorough rinsing with deionized water during final preparation prevents mineral deposits.
Industrial pollution from manufacturing facilities deposits contaminants on vehicles in certain areas. These industrial particles bond aggressively to paint and require thorough decontamination for complete removal.
Spring pollen and tree sap from deciduous trees create seasonal contamination requiring prompt removal. Vehicles parked under trees need particularly thorough preparation.
Temperature swings between summer heat and winter cold stress paint and protective products. Paint experiencing repeated thermal expansion and contraction might develop adhesion issues. Thorough preparation ensures ceramic coating bonds strongly enough to withstand these thermal stresses.
For Lehigh Valley vehicles, comprehensive pre-ceramic coating preparation addressing these regional challenges ensures ceramic coating performs optimally despite our challenging environmental conditions.
DIY vs. Professional Preparation: Making the Right Choice
Deciding whether to prepare your vehicle for ceramic coating yourself or hire professionals depends on several factors.
DIY preparation requires specific products including clay bars, lubricants, appropriate wash soaps, and potentially polishing compounds and pads. Material costs for complete DIY preparation typically range from $100-$300 depending on which products are purchased and whether paint correction is included.
Professional preparation typically costs $300-$800 depending on vehicle size, contamination severity, and whether paint correction is needed. This investment is higher than DIY materials but includes professional expertise and equipment.
Time investment for thorough DIY preparation is substantial. Expect 15-20 hours for light preparation or 25-35 hours if paint correction is included. Professional preparation completing in one day represents significant time savings.
Skill level required for DIY preparation includes careful washing technique, clay bar application without scratching paint, and potentially light polishing for minor swirl mark removal. Paint correction beyond light polishing requires professional expertise and equipment.
Risk with DIY preparation includes potential paint damage from improper technique. Aggressive clay bar use without sufficient lubrication scratches paint. Improper polishing compounds or techniques cause additional damage. These mistakes, while fixable through professional correction, add unexpected costs.
Professional preparation guarantees optimal results because trained technicians understand proper technique and recognize when situations exceed their expertise. They take responsibility for results through warranty protection.
For most vehicle owners, professional preparation’s quality assurance and time savings justify the cost. For budget-conscious owners willing to invest considerable time learning proper technique, careful DIY preparation can achieve acceptable results for lighter contamination situations.
To better understand ceramic coating’s benefits and how proper preparation enables those benefits, review our detailed analysis on Is Car Ceramic Coating a Smart Choice?, which explains how coating benefits depend on proper installation and preparation.
Pre-Ceramic Coating Preparation Timeline and Best Practices
Understanding the proper timeline for pre-ceramic coating preparation helps you plan your service strategically.
Schedule ceramic coating application during optimal seasonal windows. Fall and spring offer ideal temperatures (65-75°F) and humidity levels (40-60%) for ceramic coating bonding. Summer heat can accelerate curing unpredictably. Winter cold slows curing excessively. Spring and fall provide consistency.
Allow sufficient time for preparation work without rushing. Thorough preparation requires several hours minimum. Rushing through preparation compromises the careful attention to detail that ensures optimal results.
Plan preparation service 1-2 days before ceramic coating application. This timing minimizes re-contamination risk contaminants settling on freshly cleaned paint before coating application is minimized but not eliminated by scheduling coating application immediately after preparation.
Avoid wet weather during and immediately after preparation. Rain compromises drying and introduces water that interferes with coating bonding. Check weather forecasts and avoid scheduling preparation if rain is predicted.
Avoid direct sun during final preparation stages. Sun causes water spots during drying and can interfere with isopropyl alcohol evaporation if that final step is used. Shaded locations or overcast days optimize conditions.
Understand curing requirements after ceramic coating application. Most ceramic coatings require 7 days curing before water exposure. During this curing period, avoid washing the vehicle. Some coatings require even longer periods before full curing completes.
Following proper timing and environmental conditions throughout the entire preparation and application process optimizes ceramic coating success.
Conclusion: Proper Preparation Ensures Ceramic Coating Success
Pre-ceramic coating preparation determines whether your ceramic coating investment delivers years of protection and appearance benefits or disappoints through premature failure and inadequate performance.
The preparation process initial washing, clay bar decontamination, professional detailing, paint correction if needed, and final cleaning systematically removes everything preventing your ceramic coating from bonding optimally with your clear coat. Each step builds on previous steps, creating the pristine surface necessary for superior coating adhesion and longevity.
Skipping preparation steps or rushing through preparation saves time initially but costs far more through coating failure, disappointing results, and wasted investment. Professional preparation that seems expensive upfront ensures your coating investment delivers maximum value through years of reliable protection.
For Lehigh Valley residents specifically, understanding our region’s environmental challenges road salt, industrial pollution, hard water, temperature swings helps appreciate why thorough preparation is particularly important. Our climate creates substantial paint contamination that requires intensive decontamination before coating application.
Whether you choose professional preparation for guaranteed optimal results or carefully perform DIY preparation if you have the skill and patience, committing to thorough pre-ceramic coating preparation is essential. Ceramic coating applied to properly prepared paint delivers the protection, durability, and appearance benefits that justified your investment.
Your vehicle’s paint deserves proper preparation before the significant investment of ceramic coating application. Thorough pre-ceramic coating preparation transforms your ceramic coating from a disappointment into years of reliable protection and beautiful appearance.
Frequently Asked Questions
- How long does pre-ceramic coating preparation typically take?
Light preparation on relatively clean vehicles takes 4-6 hours. Moderate preparation with clay bar and detailing takes 6-10 hours. Heavy preparation including paint correction takes 10-16+ hours. Professional facilities complete typical preparation within one day. DIY preparation typically requires 15-25 hours depending on technique skill and vehicle condition.
- Can I apply ceramic coating without proper preparation?
Technically yes, but doing so is a serious mistake. Ceramic coating applied to unprepared paint bonds poorly, fails prematurely, and delivers minimal benefits. The coating might peel or fail within months. Proper preparation ensures coating longevity and performance.
- What happens if I skip clay bar treatment during preparation?
Clay bar-bonded contamination remains on your paint, creating a barrier preventing ceramic coating from bonding with your clear coat. The coating bonds with contamination instead of paint, resulting in poor adhesion and premature failure. Clay bar treatment is essential, not optional.
- Is paint correction necessary before ceramic coating?
Paint correction is necessary only if existing damage exists that bothers you. If your paint has swirl marks or scratches you want corrected, address them before coating application. Ceramic coating locks in existing damage permanently. If your paint’s current condition is acceptable, correction isn’t strictly necessary.
- How much does professional pre-ceramic coating preparation cost?
Professional preparation typically costs $300-$800 depending on vehicle size, contamination severity, and whether paint correction is needed. Light preparation might cost $300-$400. Heavy preparation with paint correction might cost $600-$800. Get quotes from local shops for accurate pricing.
- What’s the difference between DIY and professional preparation?
DIY preparation costs less in materials ($100-$300) but requires significant personal time (15-25 hours) and carries risk of improper technique causing paint damage. Professional preparation costs more ($300-$800) but guarantees optimal results, saves time, and includes warranty protection for preparation quality.
- How often should I prepare my paint before ceramic coating?
Ceramic coating typically requires preparation once before initial application. Subsequent ceramic coating reapplication (after initial coating failure or degradation 2-5 years later) requires lighter preparation than original application because underlying paint isn’t deteriorated from years of exposure.
- Can I wash my car immediately after preparation?
No, avoid washing for at least 2-4 hours after final preparation. If ceramic coating is applied immediately after preparation, avoid water exposure for 7 days until coating cures. Re-washing too soon introduces water that interferes with coating bonding.
- What products are best for DIY pre-ceramic coating preparation?
Use quality car wash soap, appropriate clay bar grade (medium for most vehicles), generous clay bar lubricant spray, professional detailing spray if available, and isopropyl alcohol for final chemical cleaning. Avoid harsh products that might damage clear coat. Choose brands specifically formulated for pre-coating preparation.
- Is Lehigh Valley’s climate more challenging for pre-ceramic coating preparation?
Yes, our road salt, industrial pollution, hard water, and temperature swings create heavier paint contamination requiring more intensive preparation than milder climates. Vehicles in our region might need multiple decontamination cycles and particularly thorough final cleaning to remove salt and mineral deposits before coating application.